Convert Slicing to Code
The convert-html skill automates the conversion of static HTML slicing into ready-to-use DSS Base Template layouts, theme, and widgets. Instead of manually translating markup into React components, drop the slicing files into the project and let your AI assistant do the conversion.
convert-html skill is available after you run the initiator skill. Learn more
How It Works
The skill reads every HTML, CSS/SCSS, and JS file placed under the source/ folder, then maps sections of the markup to Theme, Layouts, and Widgets following the DSS Base Template conventions — generating the component files, styles, and widget configuration for you.
- index.html
- style.css
- script.js
The HTML, CSS/SCSS, and JS in source/ must be clean and unminified. Minified or obfuscated slicing is harder for the AI to reason about, which slows down the conversion and increases token cost. Always slice with readable, well-formatted markup and styles.
How to Use
Project placement
Put your project files into the source/ folder. Keep the folder structure flat and simple — the skill scans all files inside it.
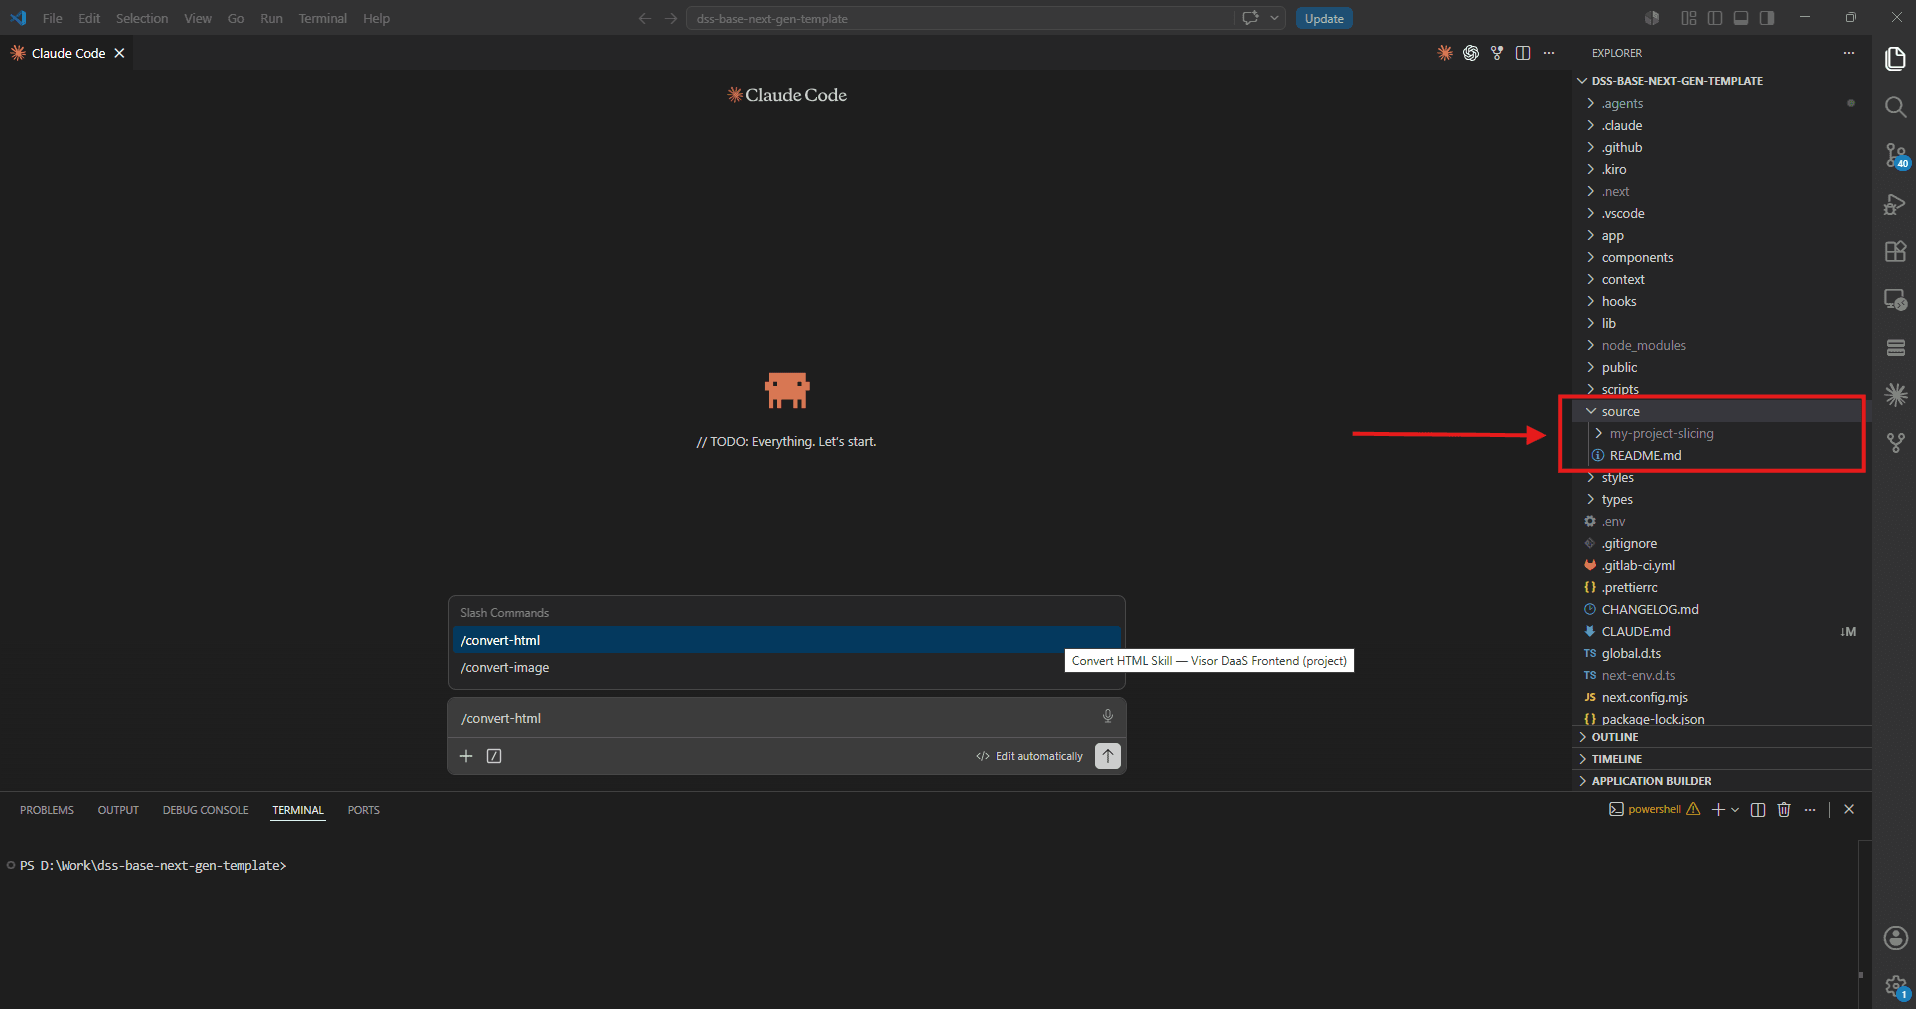
The skill supports HTML, CSS, JS, or Next.js projects. If your slicing/project is in a different format, convert it first.
Invoke the convert-html skill
Run the convert-html skill from your AI assistant (Antigravity, Claude Code, VSCode, or Kiro).
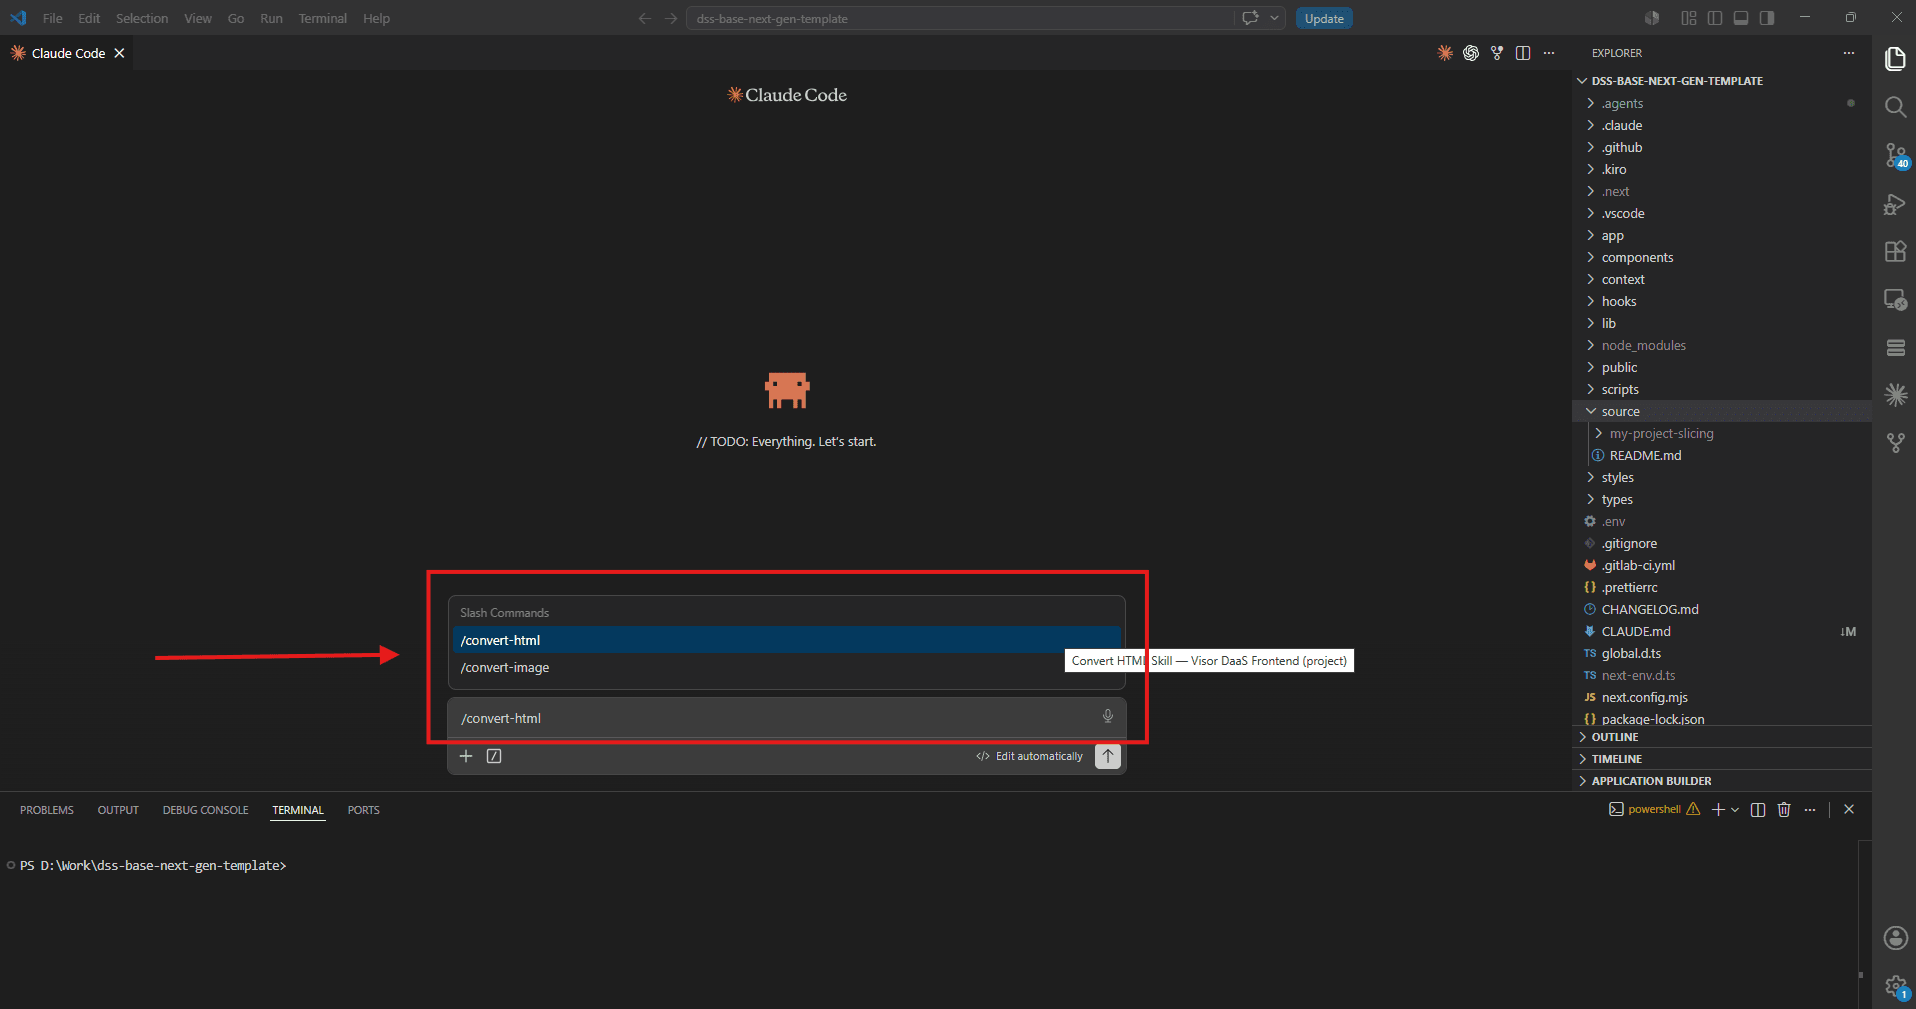
Answer any prompts
The skill may ask clarifying questions during conversion — for example, whether a section should become a new widget or reuse an existing one, or what the layout/widget name should be. Answer based on what fits your project’s needs.
Get your generated layout and widget
Once the skill finishes, the new layout, theme, and widget files are created in their respective folders, following the same structure and conventions described in Layouts, Theme, and Widgets.
Review the generated code before registering it in Visor Studio — the skill produces a working starting point, but naming, content bindings, and edge cases may still need manual adjustment.
How to Verify
After the skill finishes, check the generated layout, theme, and widgets to ensure they match the standards of Visor Studio. Here are some steps to verify the generated code:
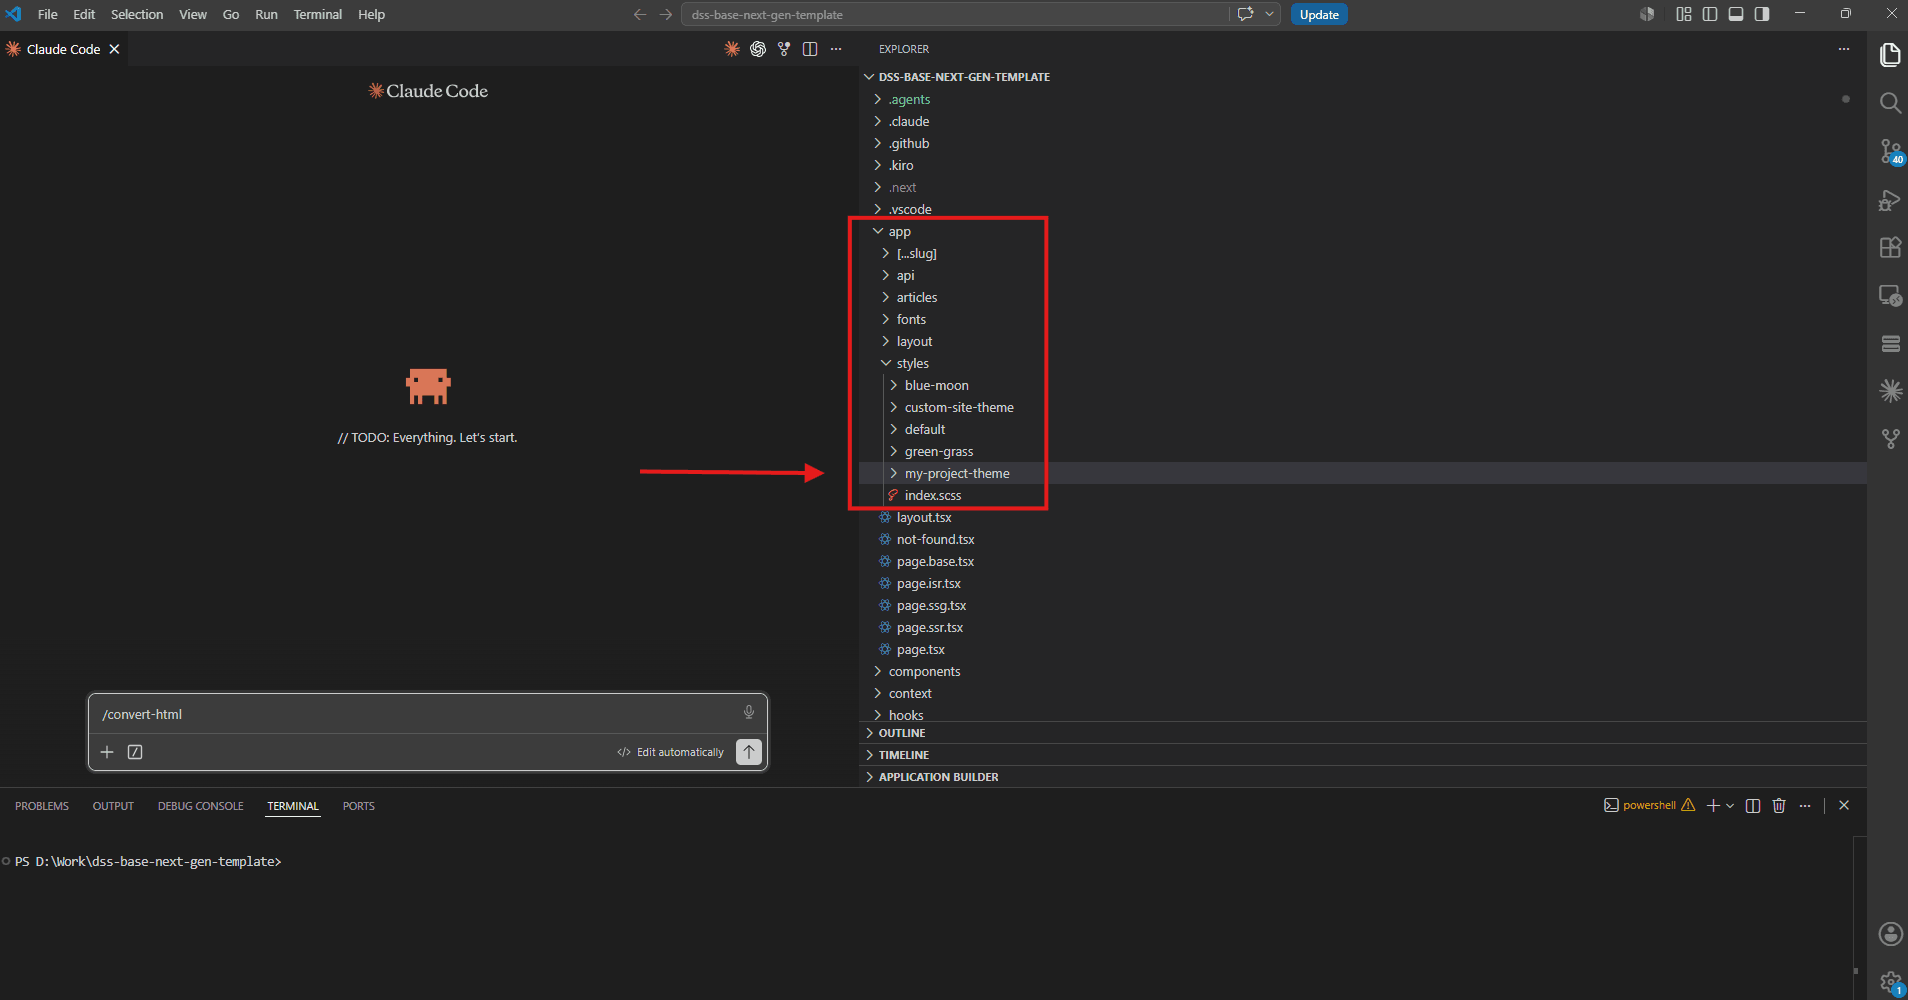
Check the generated theme
In the IDE check on the app/style/ folder for the generated theme files. Make sure the theme is complete and follows the naming conventions.
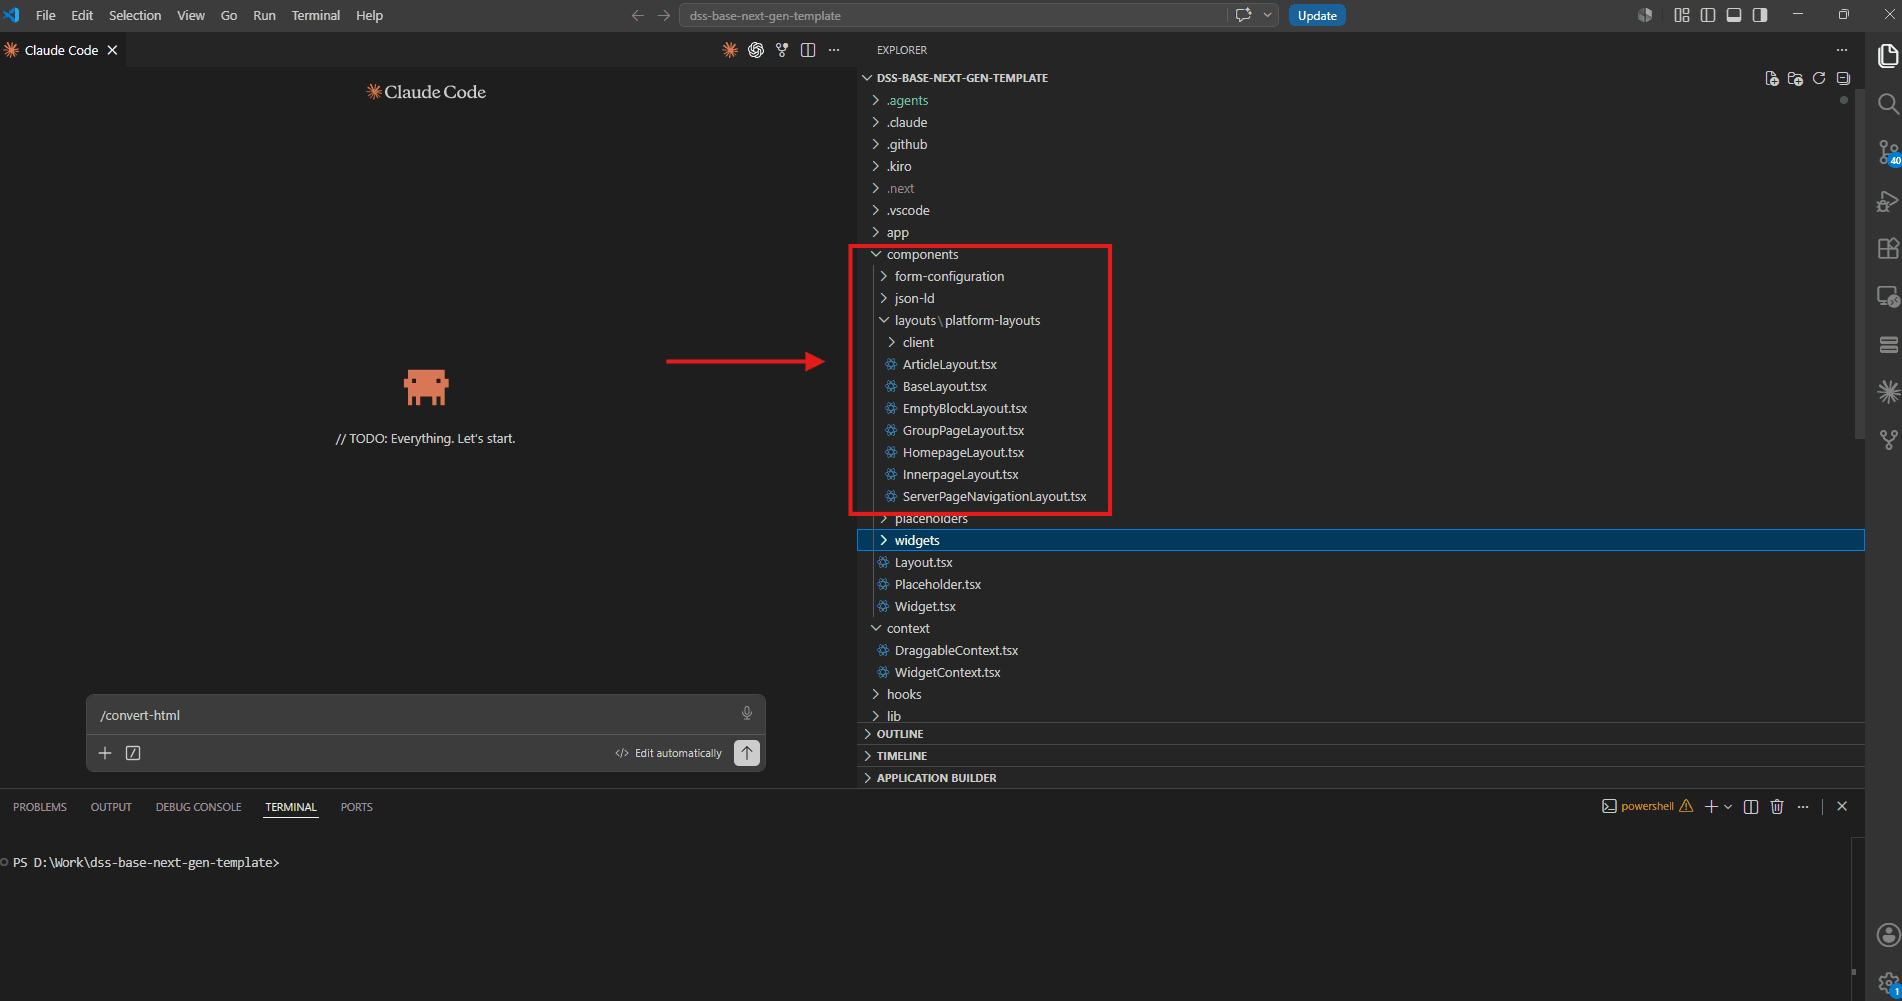
Check the generated layout
In the IDE check the components/layouts/ folder for the generated layout files. Make sure the layout follows the naming conventions.
Check the generated widgets
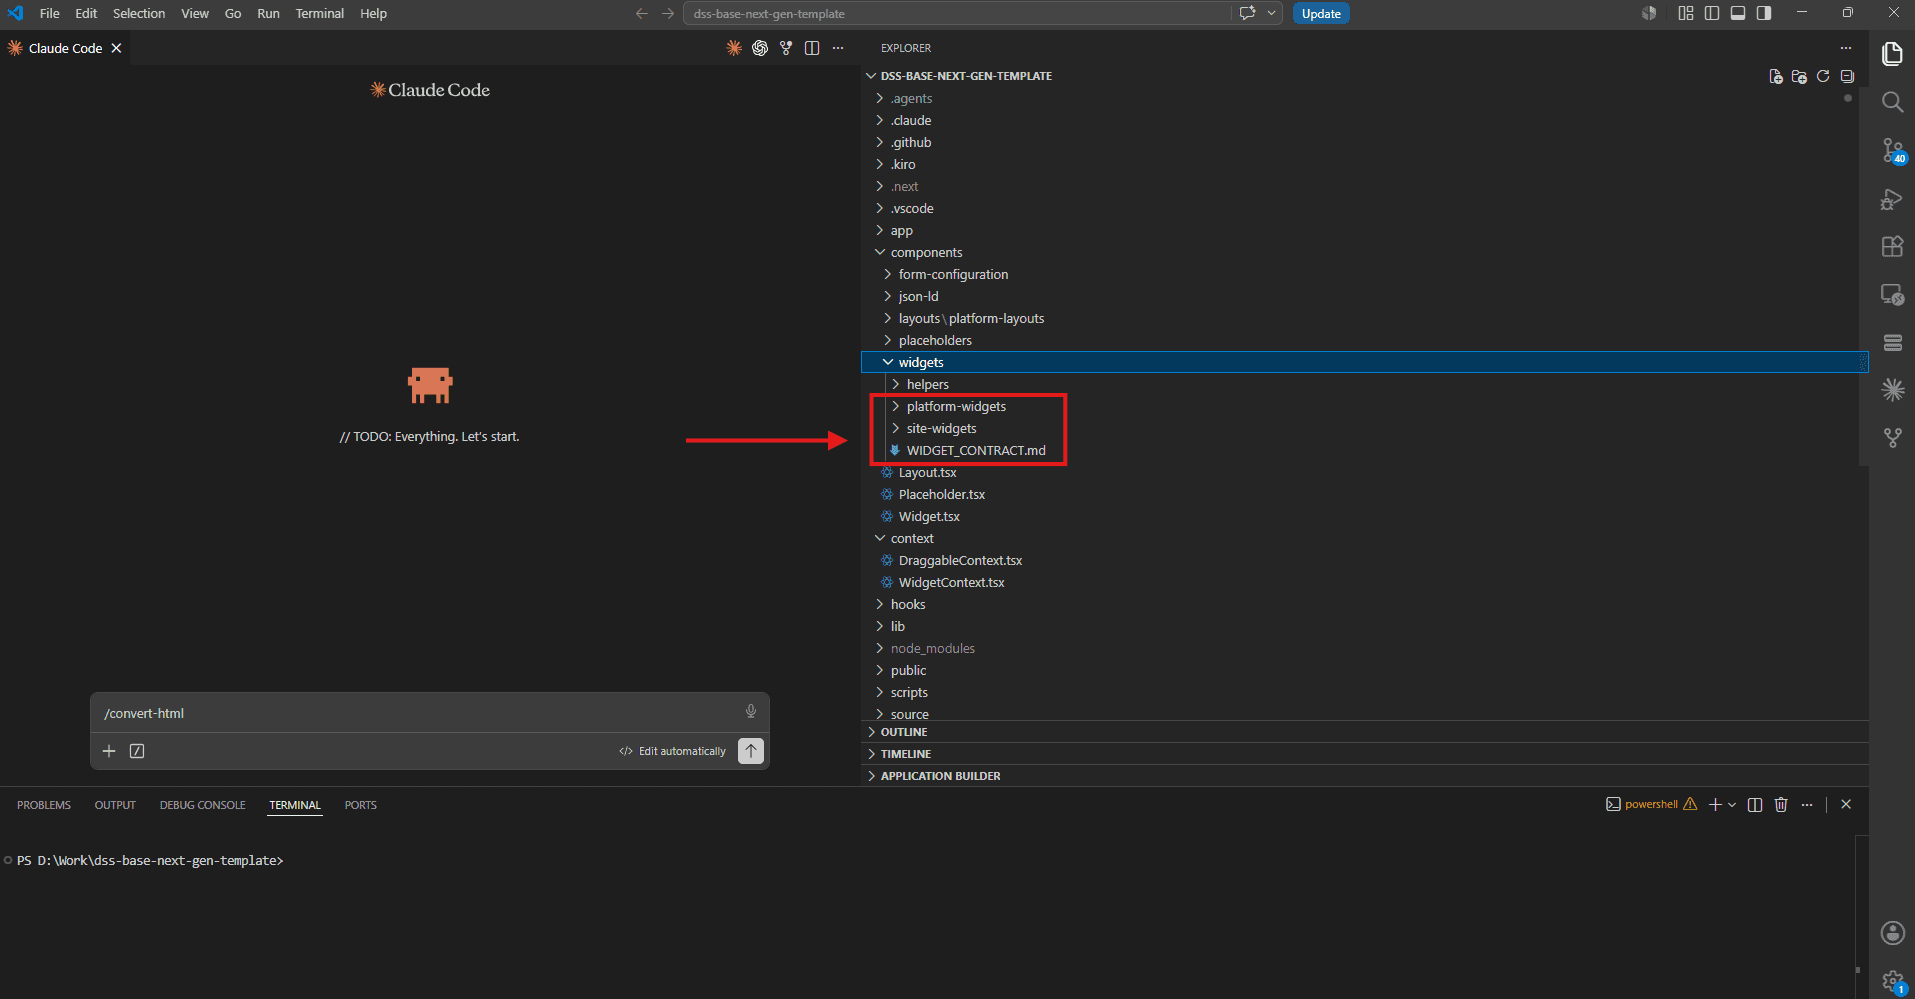
In the IDE check the components/widgets/ folder for the generated widget files. Make sure the widgets follow the naming conventions.
How to Register in Visor Studio
After verifying the generated code, here are the steps to make them available for use in your project.
Activate theme
You will need to activate the theme in Visor Studio before you can use the generated layout and widgets.
Navigate to theme configuration
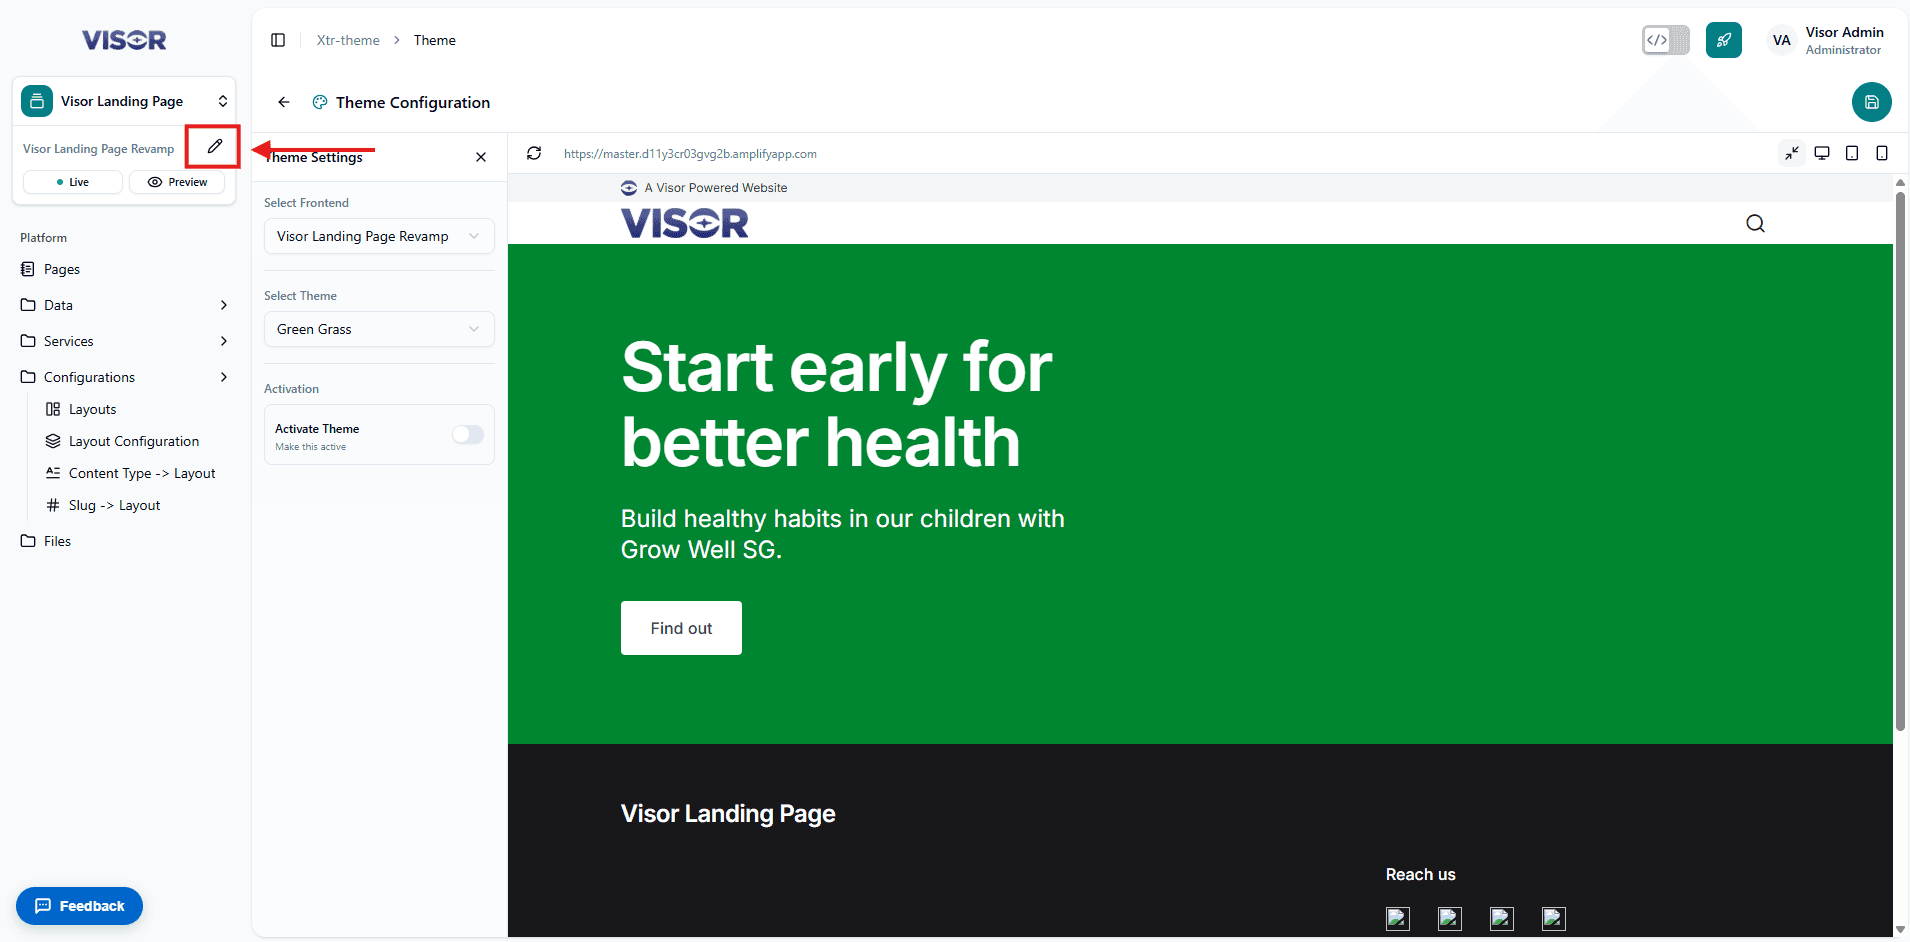
In Visor Studio, click on the Pencil Icon located in the sidebar.
Select the generated theme
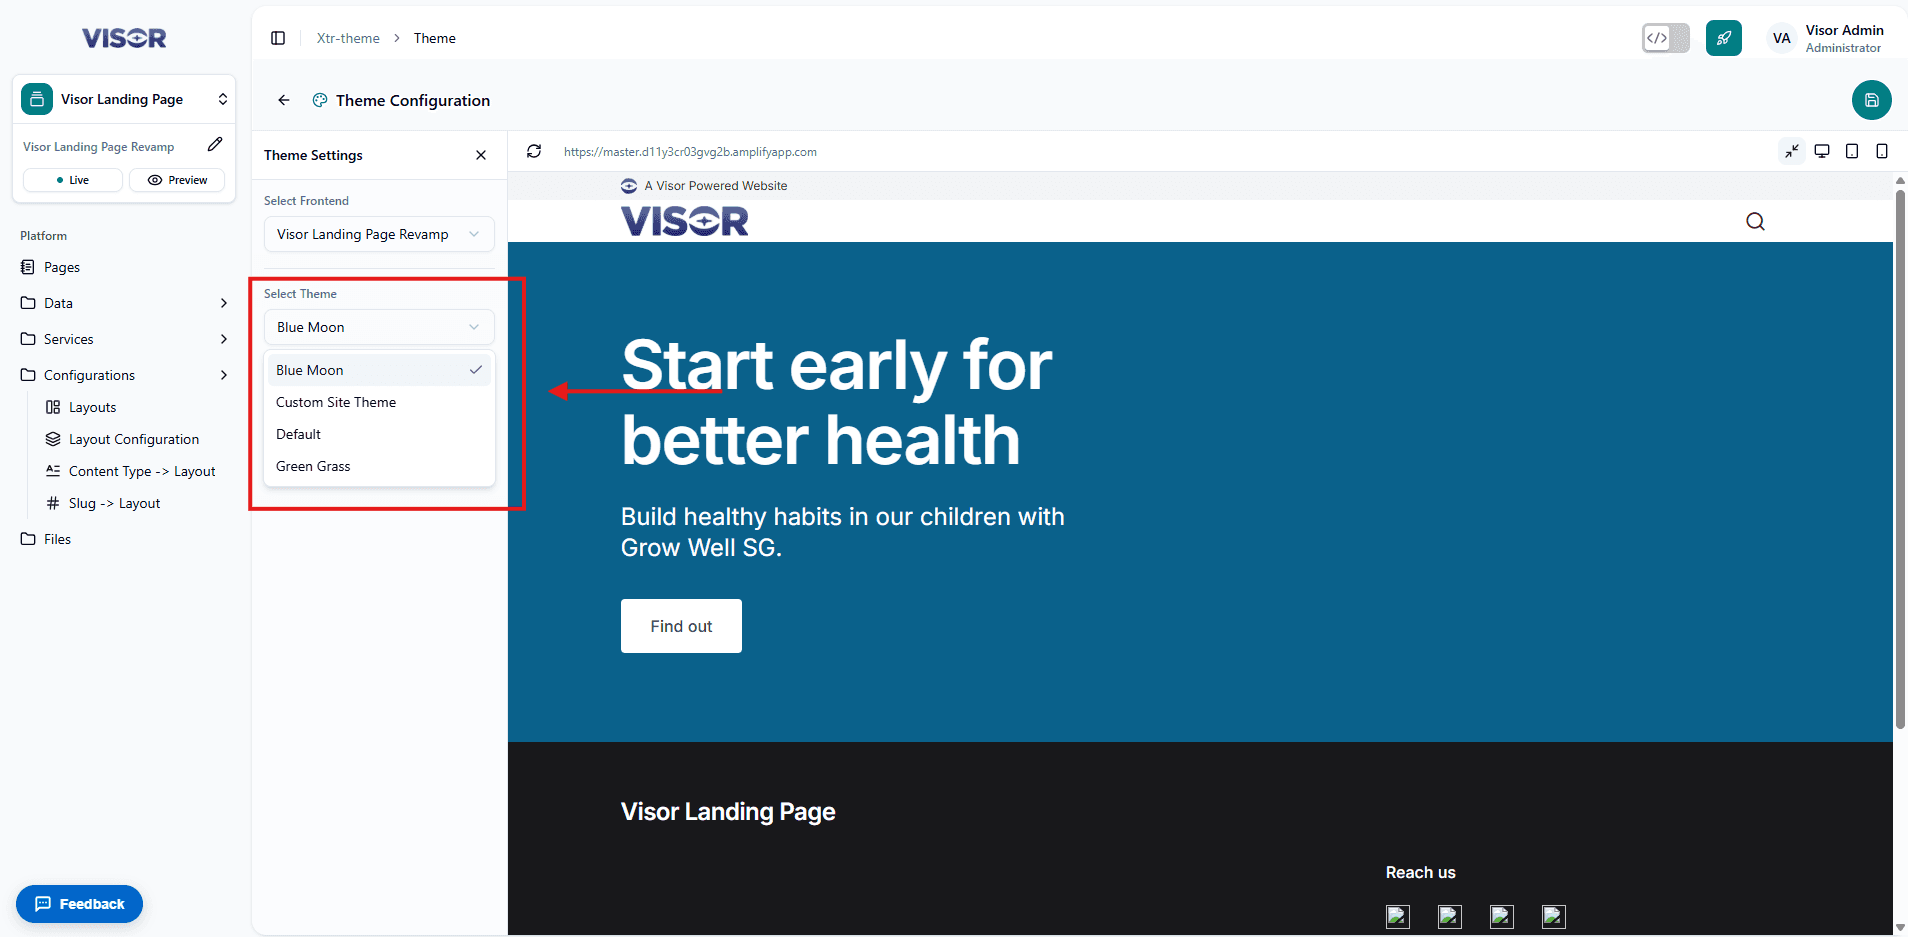
Click on the Select Theme dropdown and select the generated theme from the list.
Save the selected theme
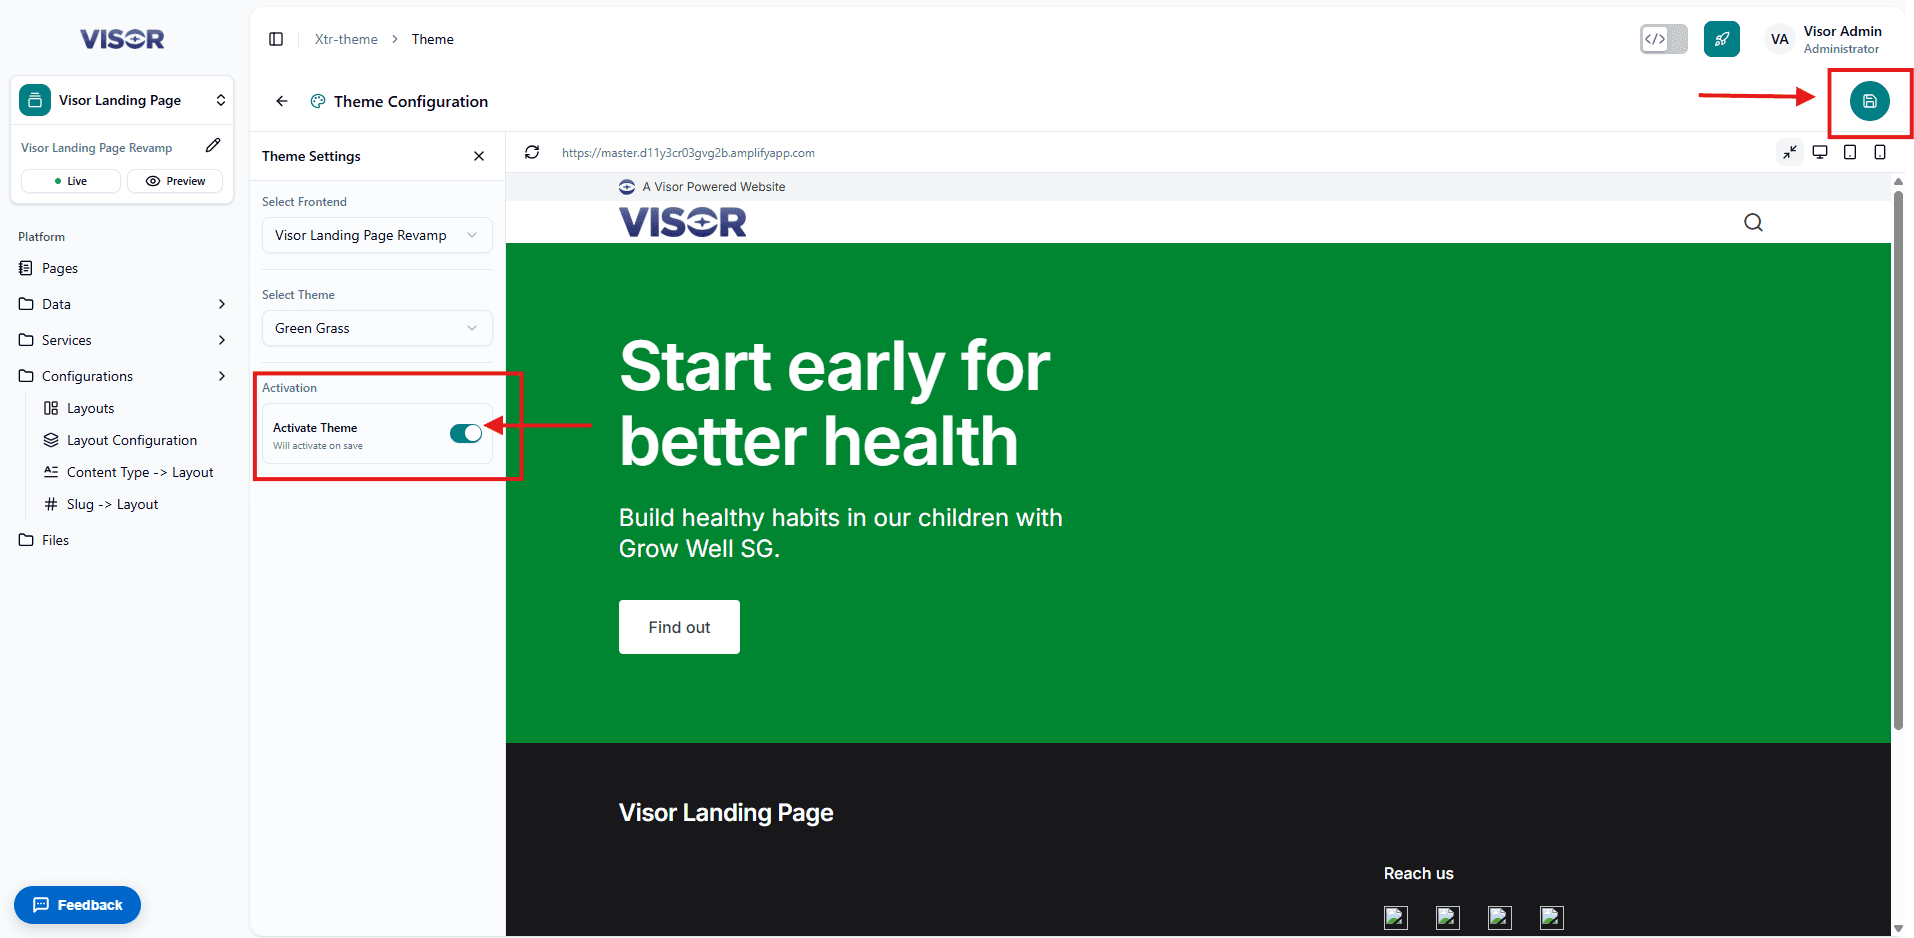
Toggle on the Activate Theme to activate the theme and click on Save to save the configuration.
Check layout & widgets
You need to check if the generated layout and widgets are available for use in Visor Studio.
Don’t forget to turn on the local development mode in Visor Studio if the code is still in your local machine. Learn more
Navigate to layout configuration
In Visor Studio, click on Configuration > Layout located in the sidebar, and make sure the generated layouts are on the layout list.
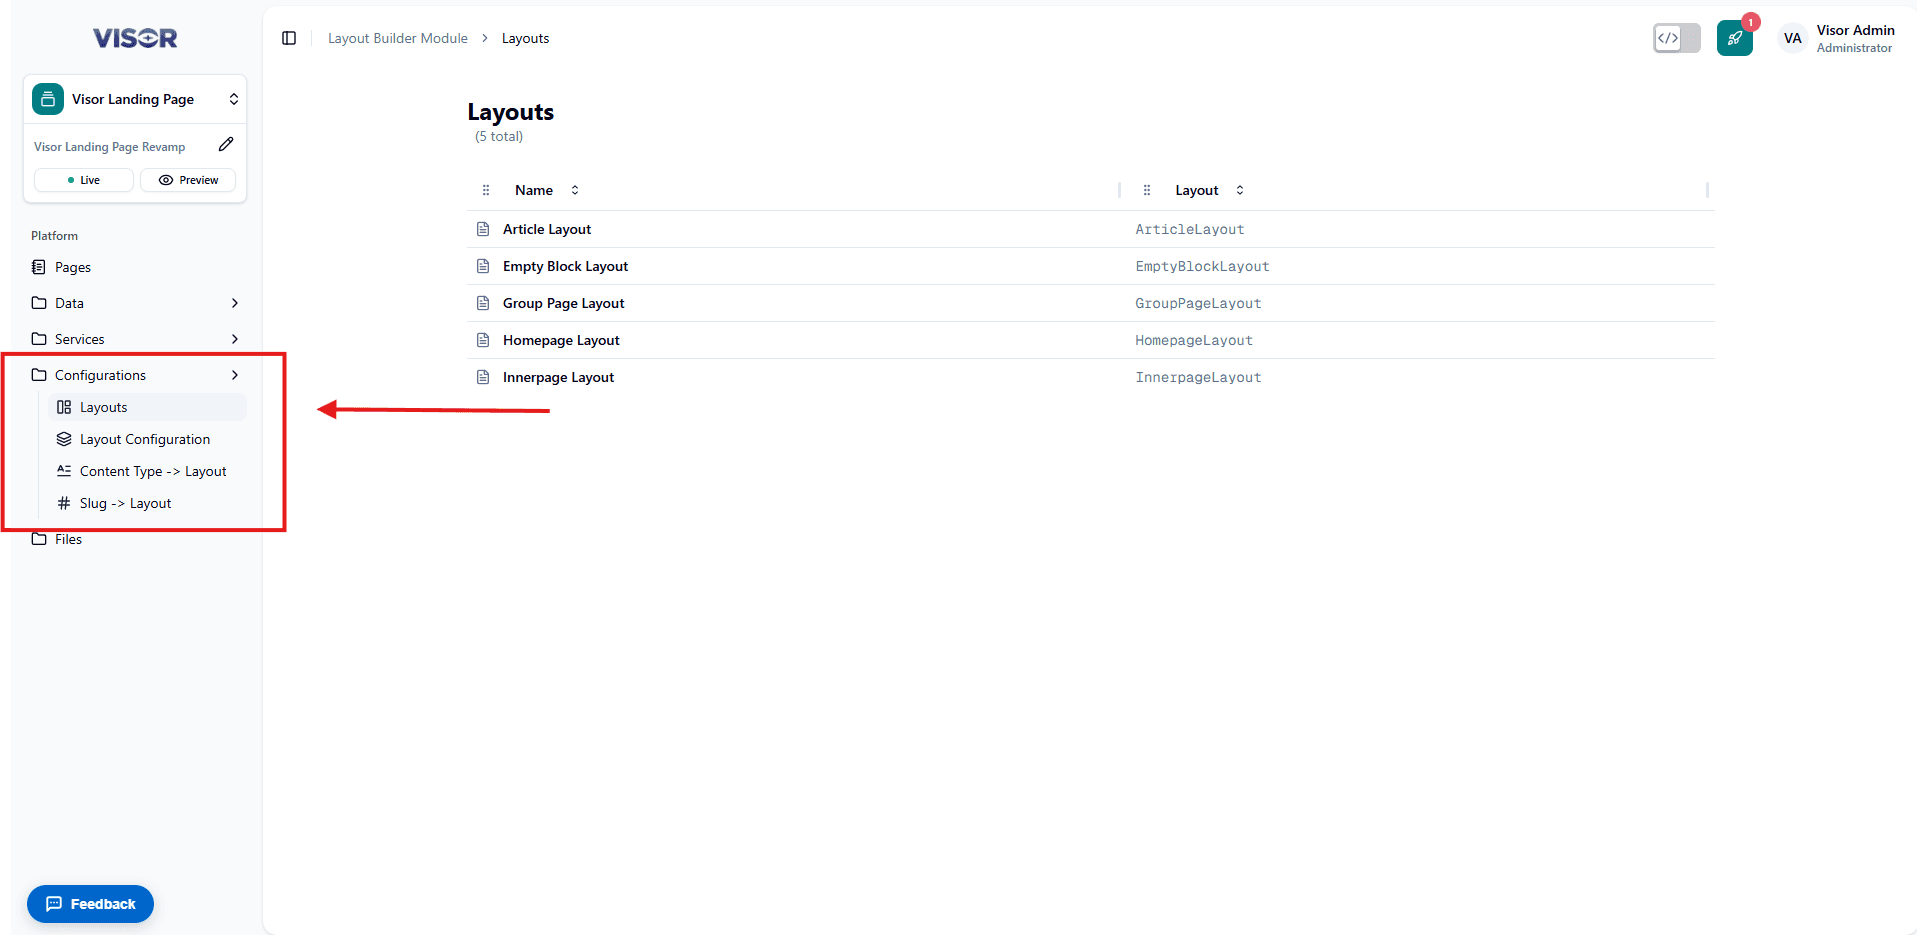
Navigate to edit mode
Click on the Edit button to change to edit mode
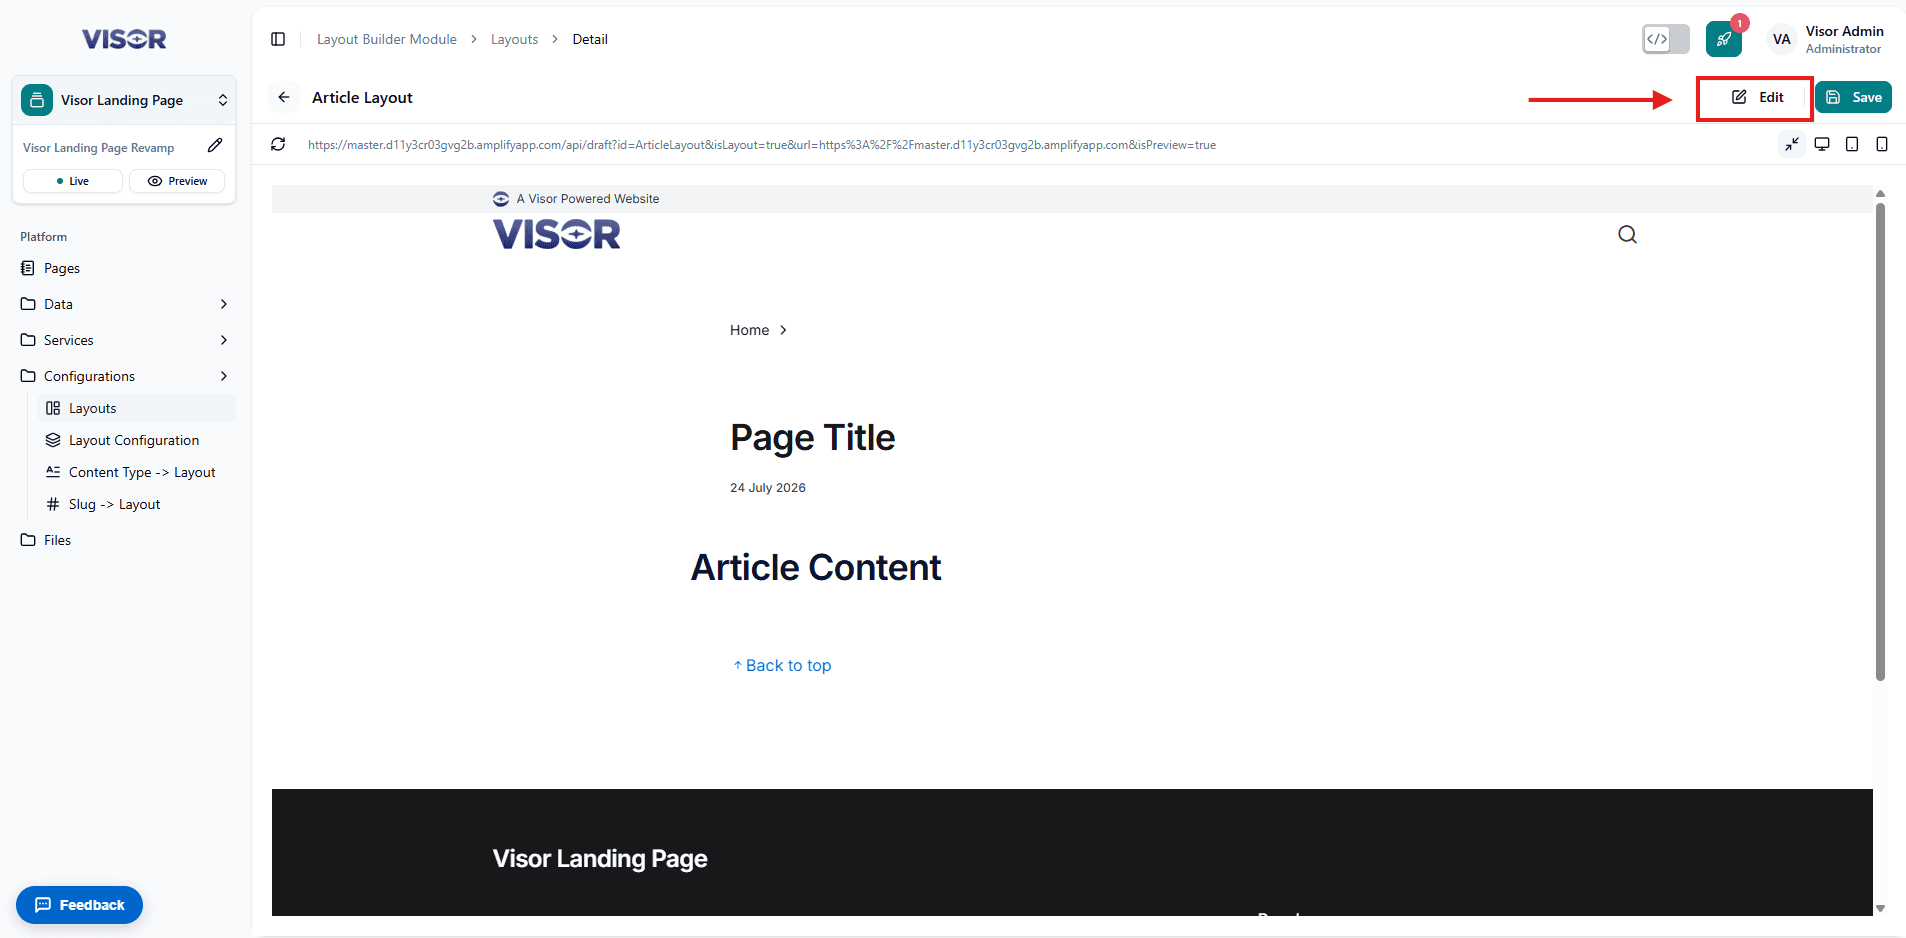
Confirm the widget
On the widget list, check if the generated widgets are on the list.
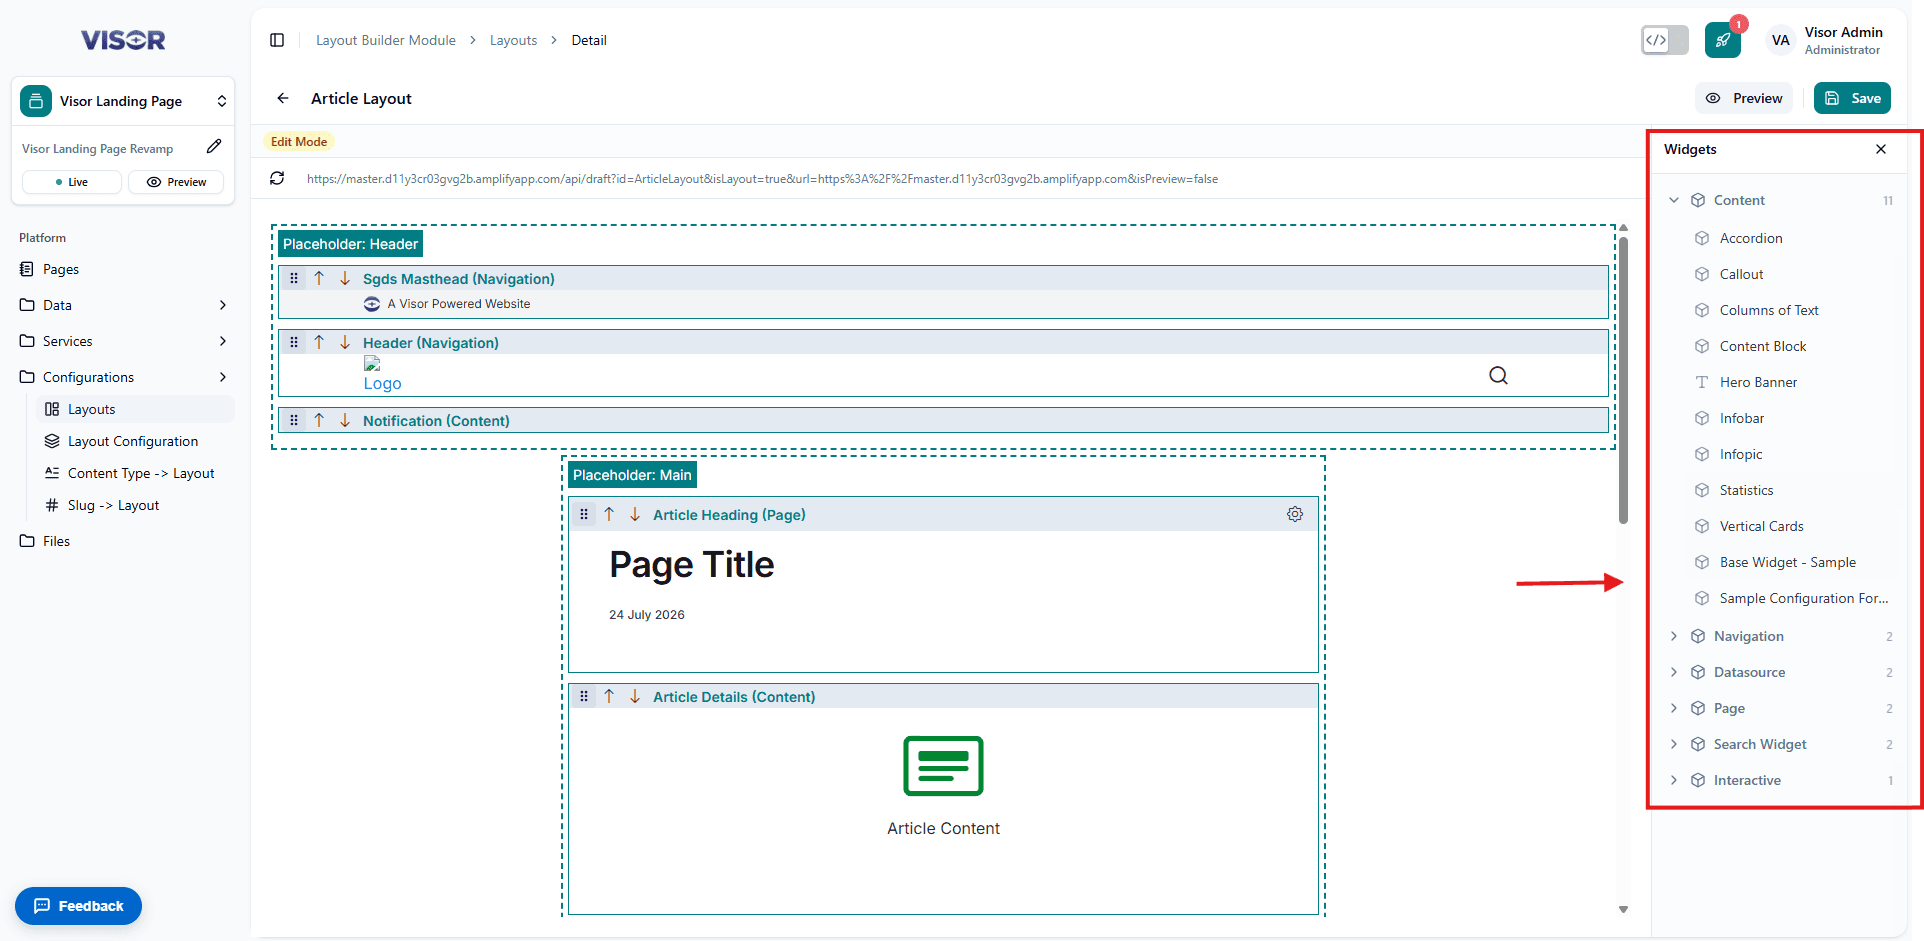
That’s it! You have successfully converted your slicing into code and registered it in Visor Studio. You can now use the generated layout and widgets in your project.
What’s Next
Deep dive to the Layout, Theme, and Widgets sections to learn how to customize and extend the generated code for your project.