Kiro
Download the kit
In your site, go to Settings → AI tools → Developer setup and click Download · Kiro. Unzip it.
Open the folder in Kiro
The kit’s .kiro/steering/ files tell Kiro how to begin.
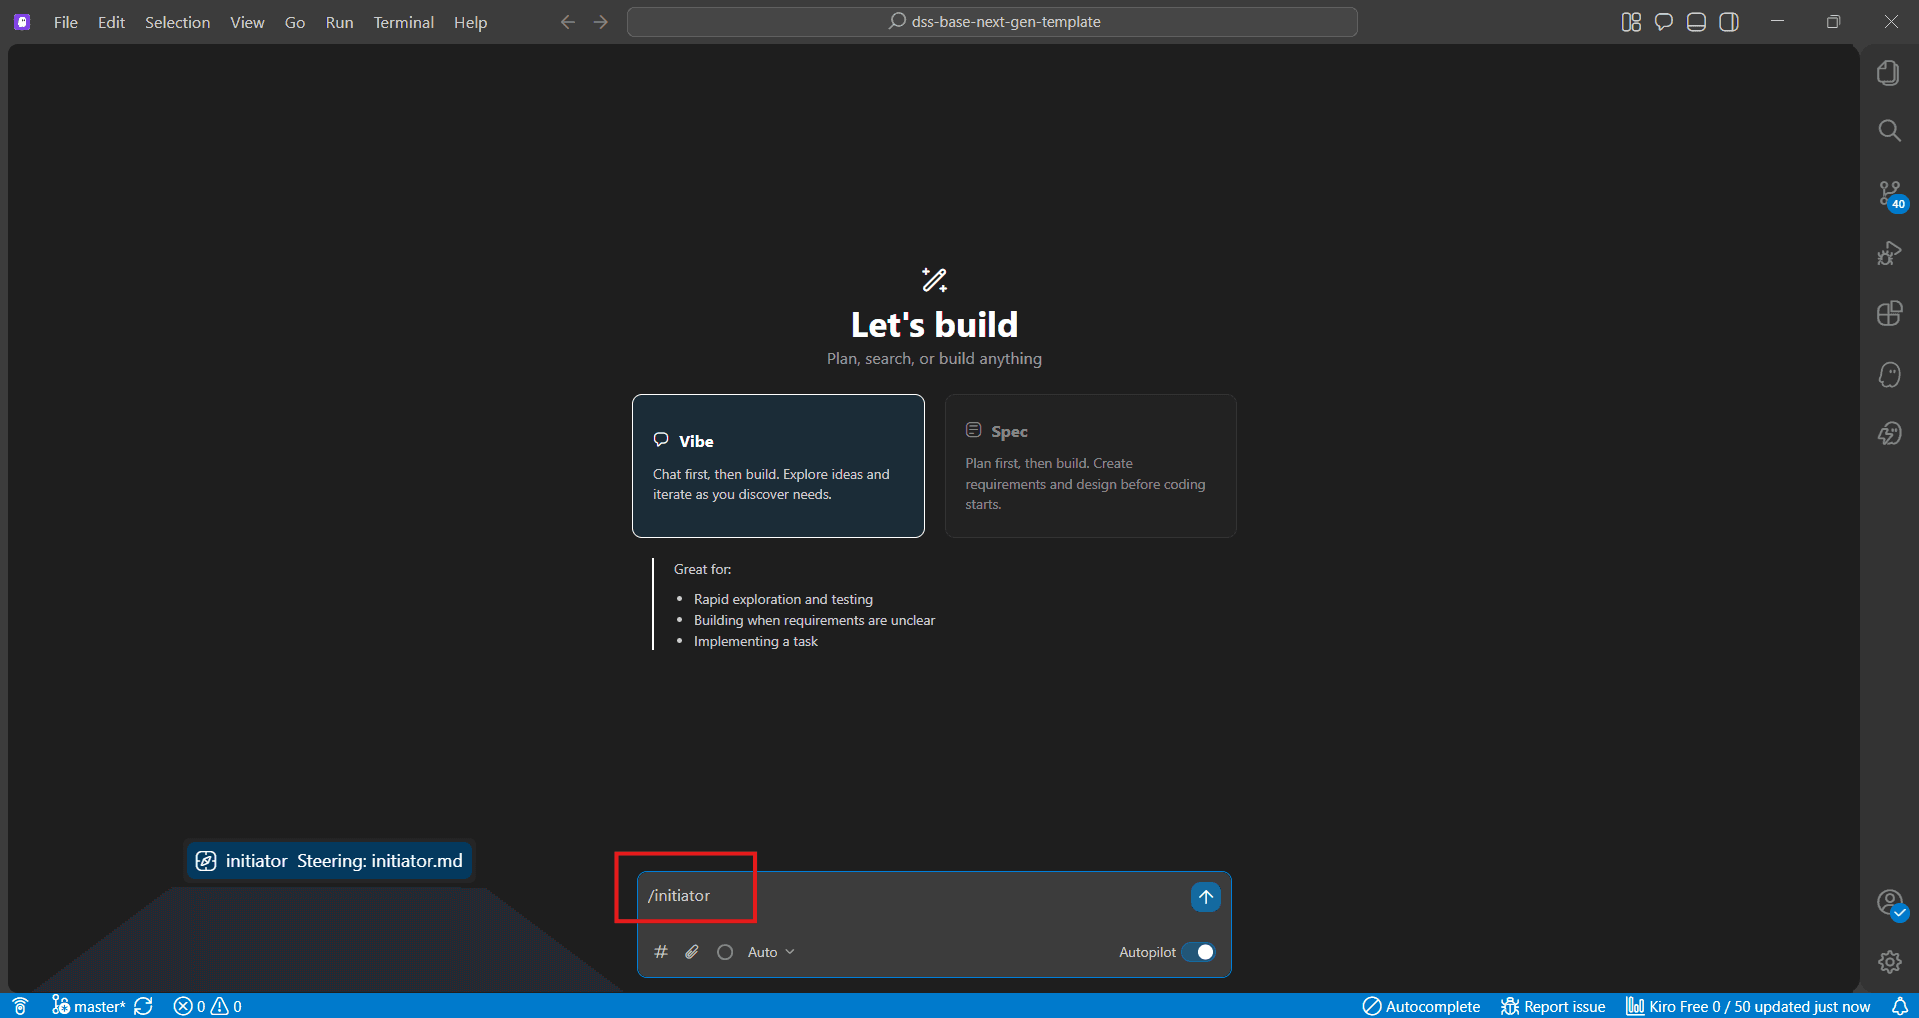
Run the initiator skill
Type #initiator in chat. The skill:
- Fetches the site’s repository.
- Creates an
onboarding/<date>branch. - Keeps the prepared
.env. - Runs
npm install. - Starts
npm run dev.
Add your personal token
Kiro connects with a personal token. Create one under Settings → AI tools → Personal token, then paste it over the placeholder in .kiro/settings/mcp.json:
{
  "mcpServers": {
    "visor-my-site": {
      "url": "<mcp-url>",
      "headers": { "Authorization": "Bearer <your personal token>" }
    }
  }
}
The kit’s git settings ignore this file. Keep it that way.
Start building
Say “hi” or “help me build my site”. Visor leads from there.
Connect without the kit
Create .kiro/settings/mcp.json with the settings from Settings → AI tools → Connect your AI tool → Kiro. After you create a token on that page, the settings include it. Keep the file out of git.
Skills
Kiro reads skills from .kiro/skills/ once the code is there, and you start one with #name, such as #convert-html. See Skills.
The dev server always runs in SSR mode, so you see the latest content on every refresh.