Frontend
What is Frontend?
The Frontend setting stores the configuration of your connected Next.js frontend head. Each entry holds key information about the frontend including its live URL, preview URL, and build status. This is the configuration that tells Visor Studio how to connect to and communicate with your frontend application.
The Settings modules are accessible to Admin roles only.
Navigating to Settings
Settings is accessed from the user account menu in the top-right corner of Visor Studio — not from the left sidebar.
Open the account menu
Click your account name or avatar in the top-right corner of Visor Studio. A dropdown menu will appear.
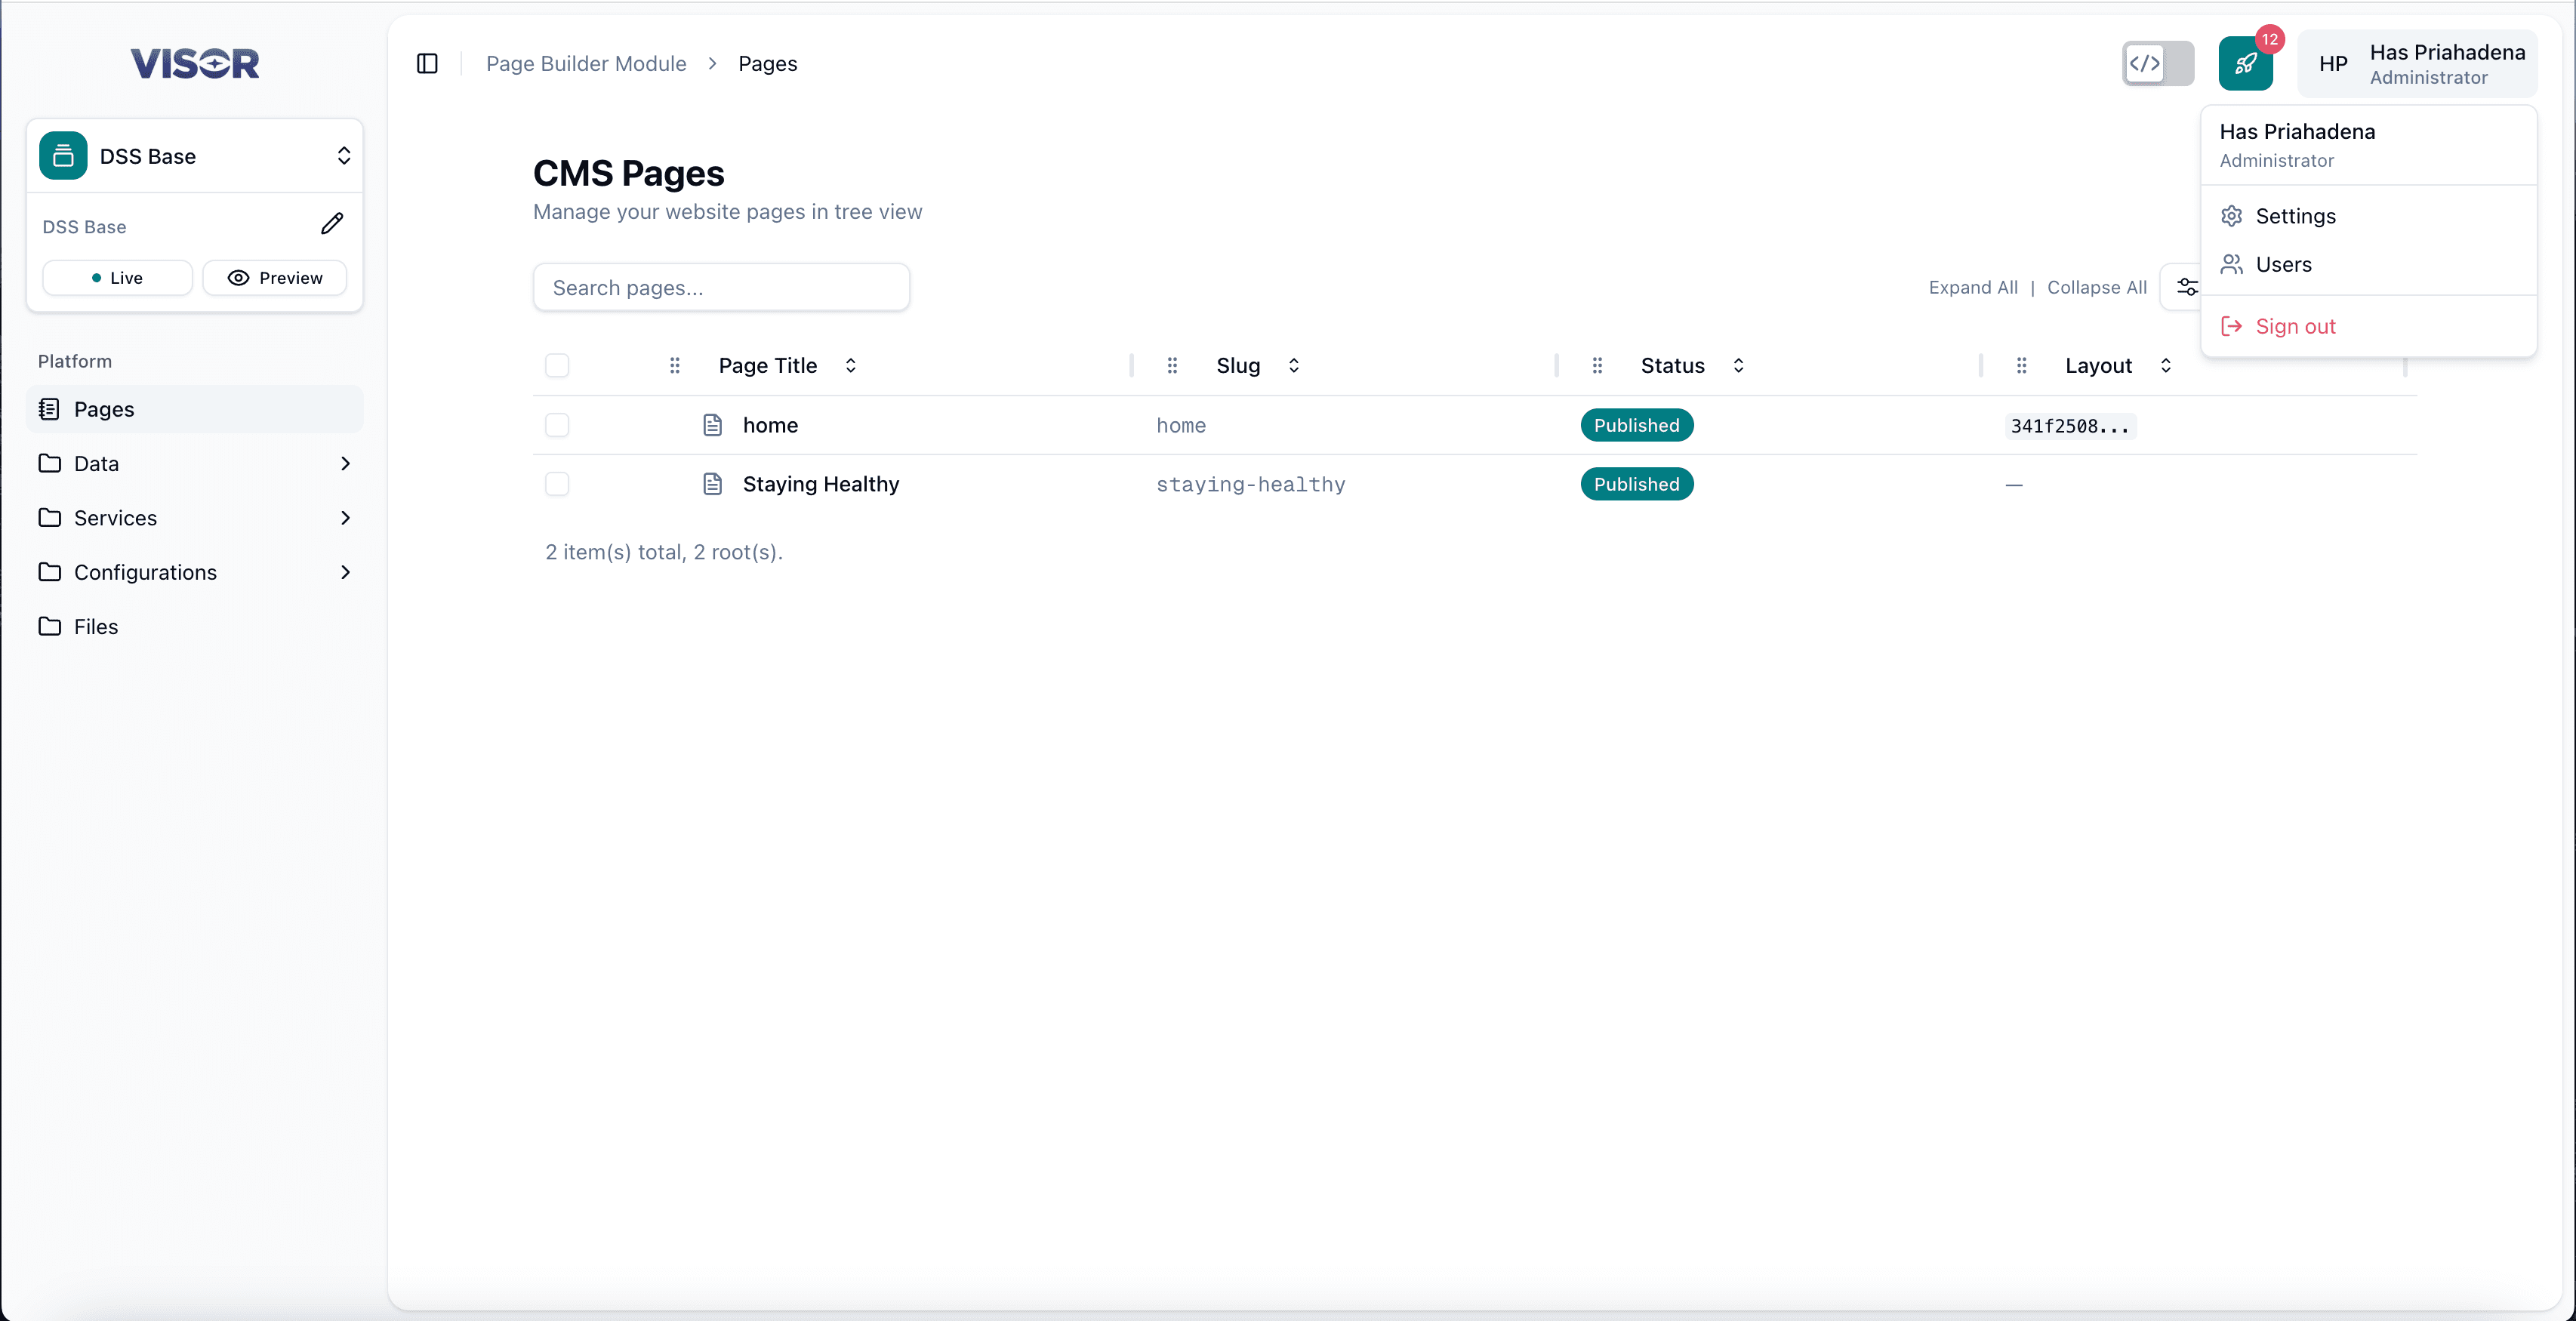
Click Settings
Select Settings from the dropdown. You will be navigated to the Settings area and the Settings modules will appear in the left sidebar.
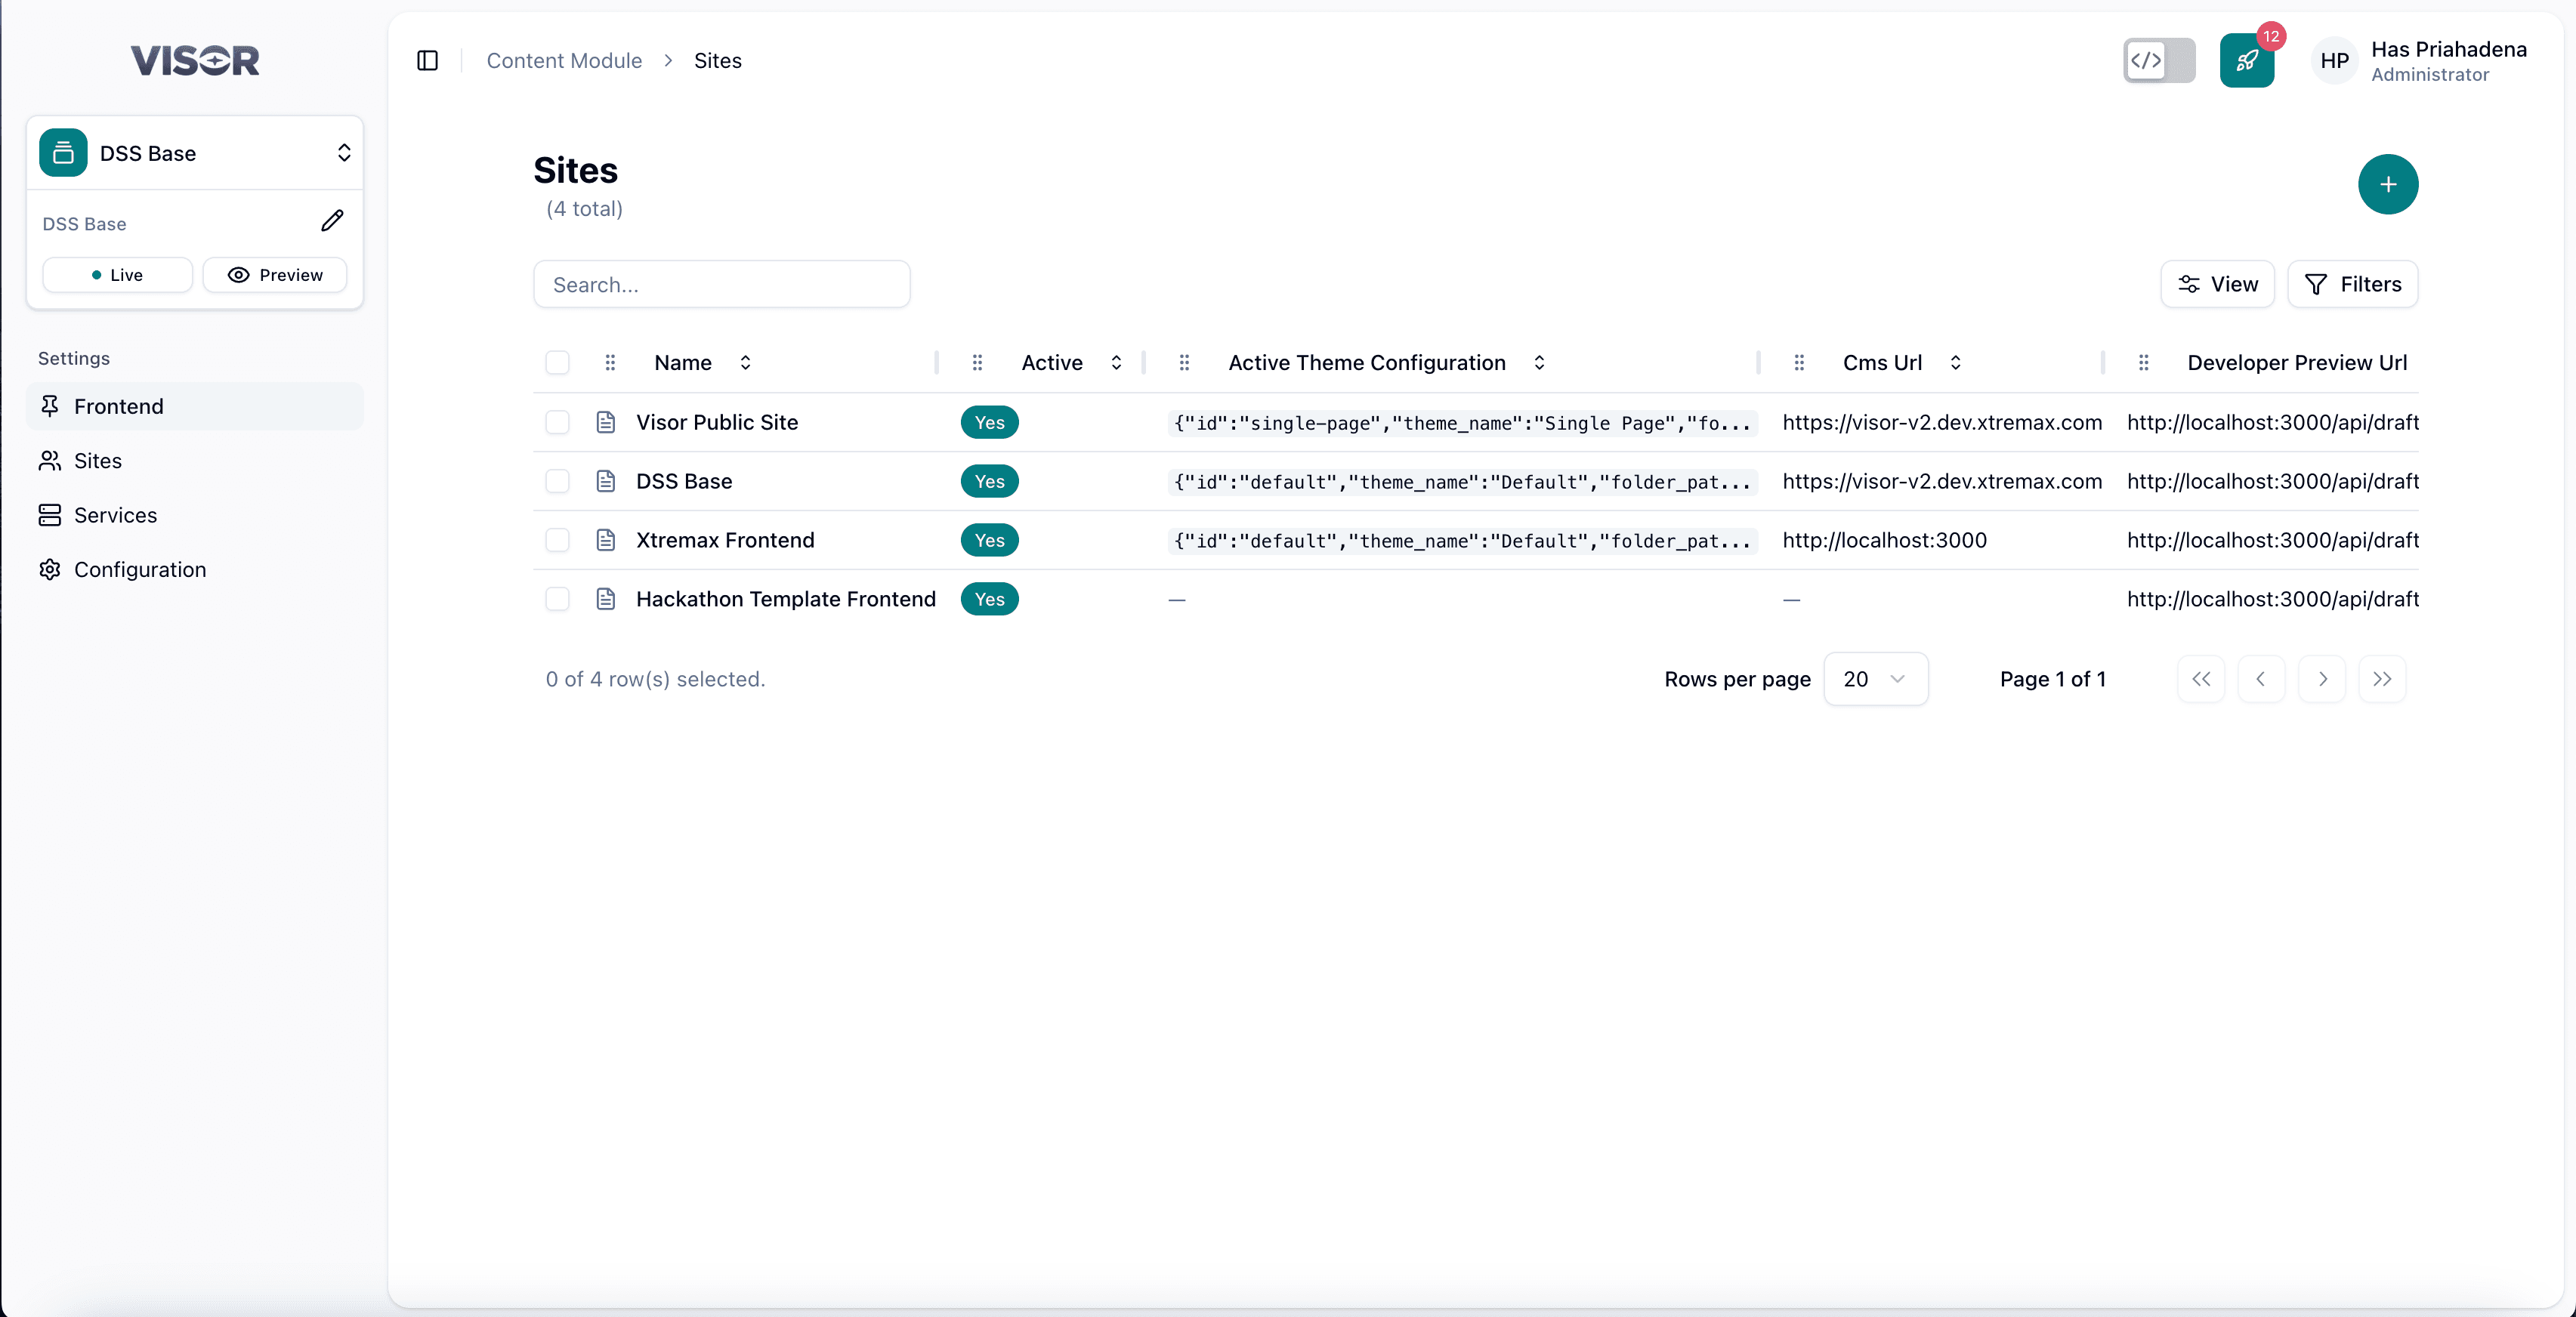
Navigate to Frontend
In the sidebar, click Frontend to open the Frontend listing page.
Create a Frontend
Before creating a Frontend entry, make sure you have already created a Site. The Frontend configuration is linked to a site. To create a site first, navigate to Sites.
Open the Frontend listing
From Settings, click Frontend in the sidebar. You will be taken to the Frontend listing page.
Click the + button
In the top-right corner, click the + button. You will be redirected to the Frontend creation form.
Fill in the form and save
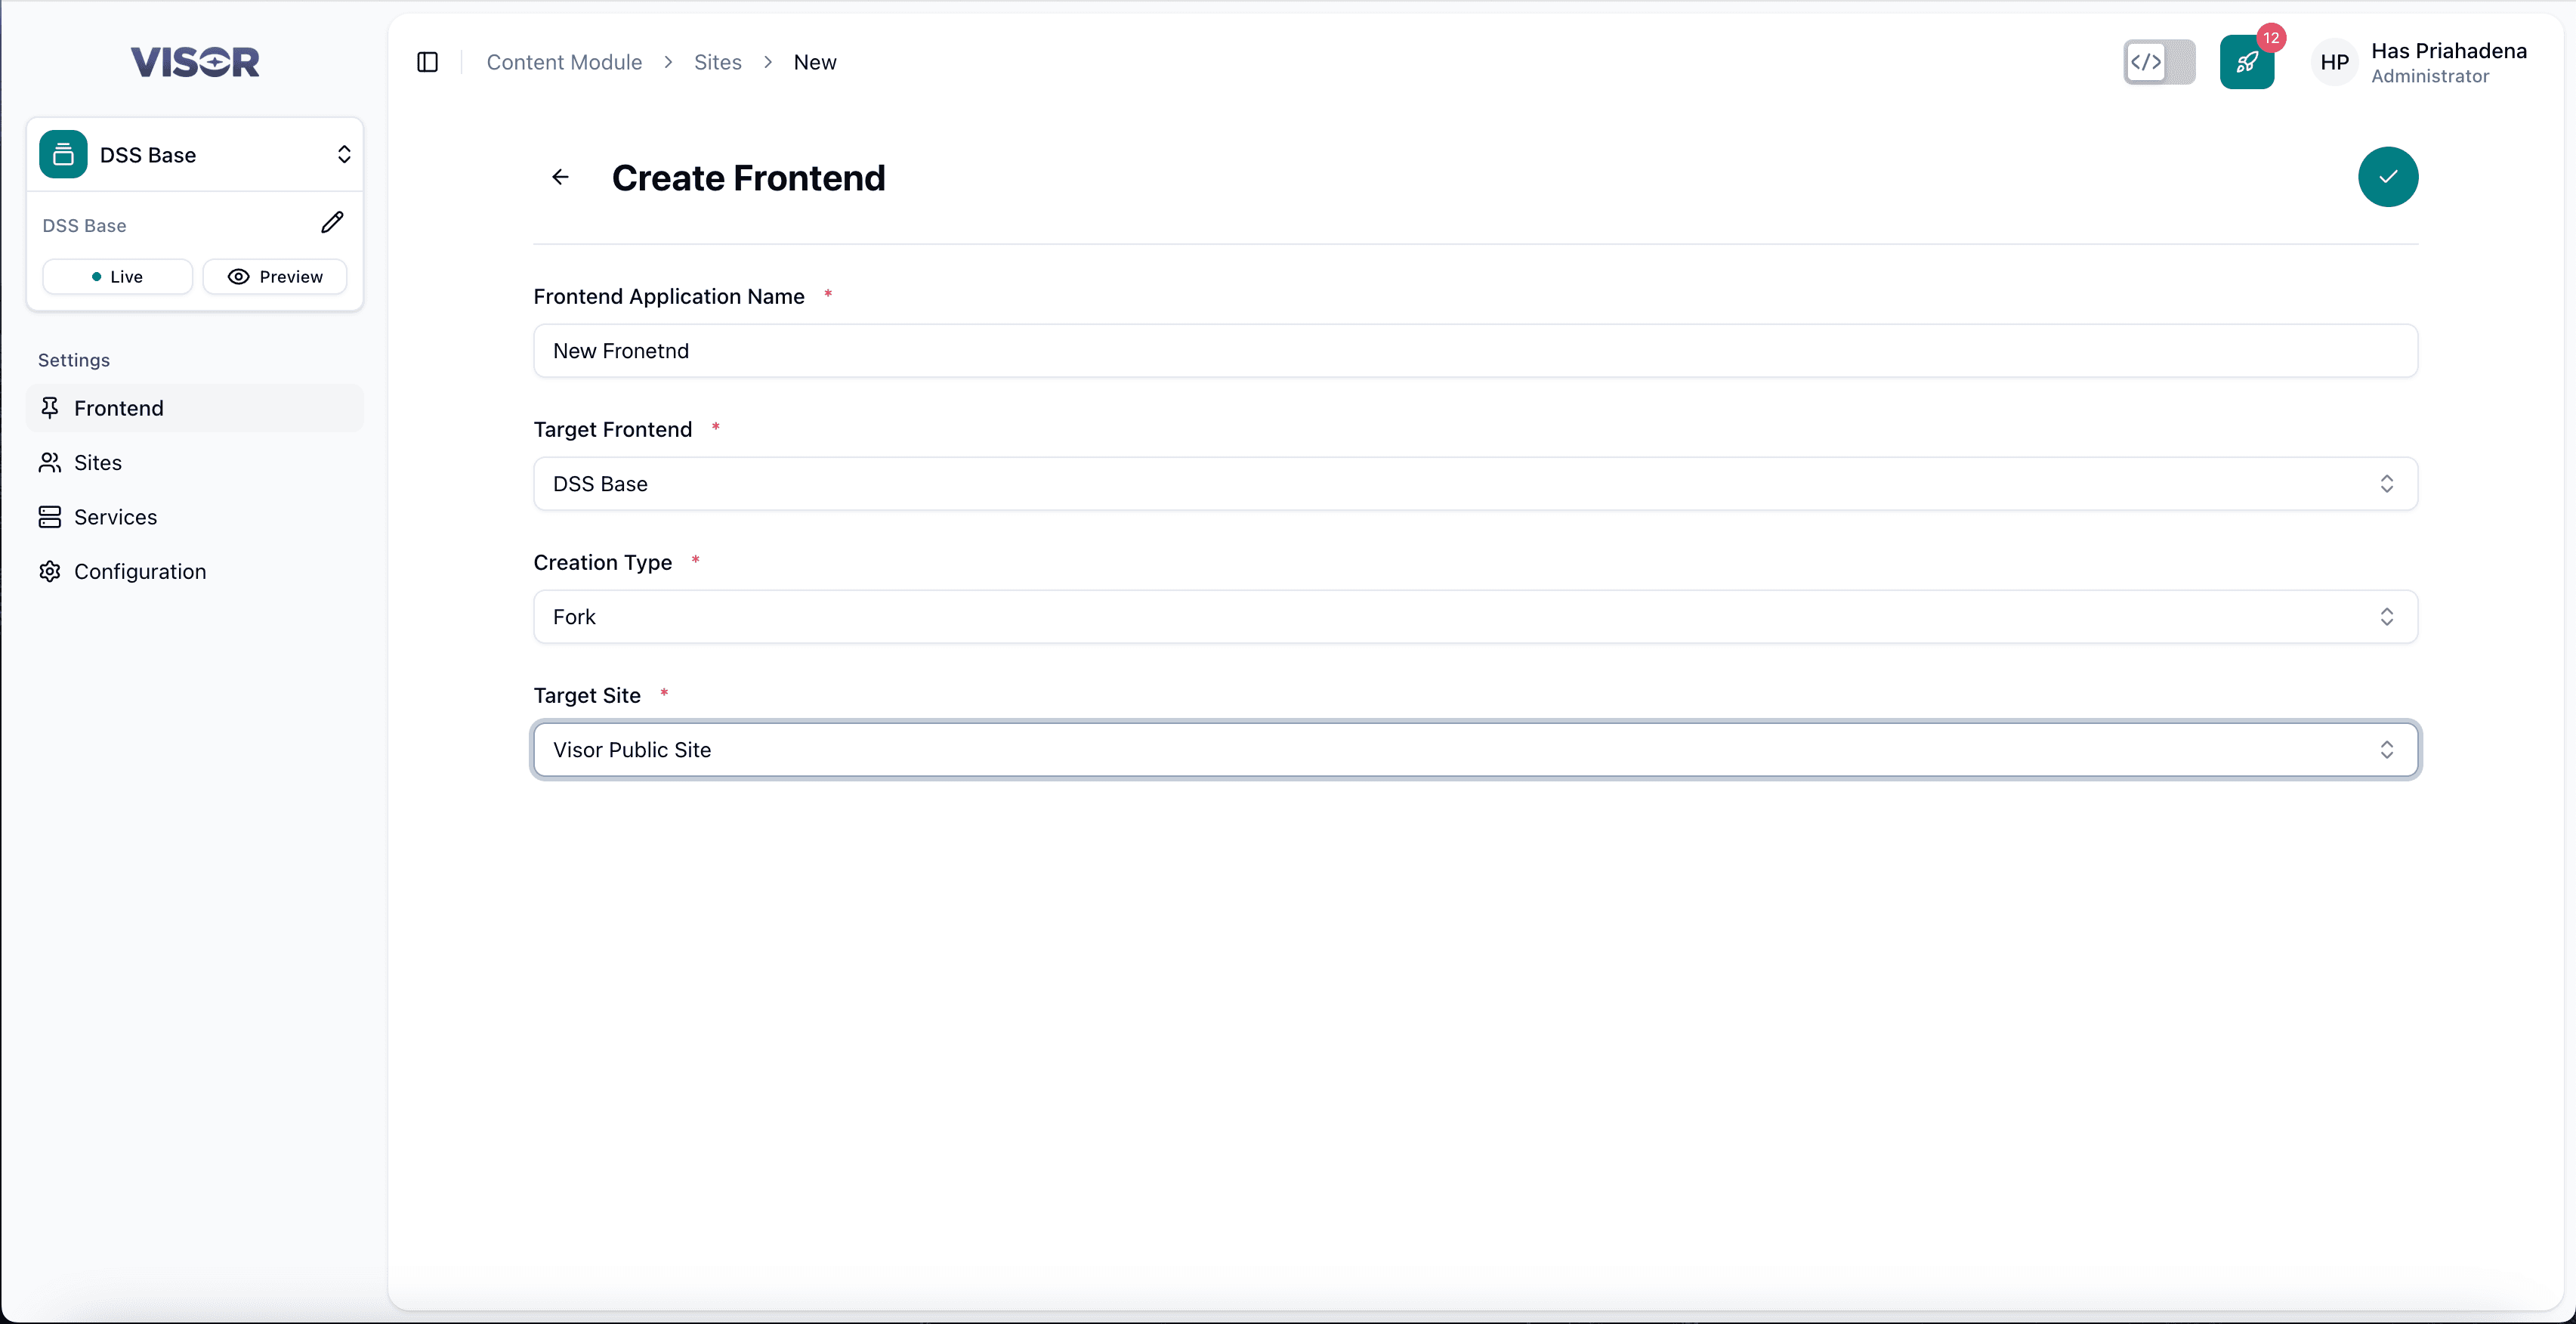
Complete the required fields for the frontend configuration (name, live URL, preview URL, and any other settings), then click the ✓ (check) button in the top-right corner to save.
Edit a Frontend
Open the frontend from the listing
From the Frontend listing, click the entry you want to edit. You will be taken to the frontend detail page.
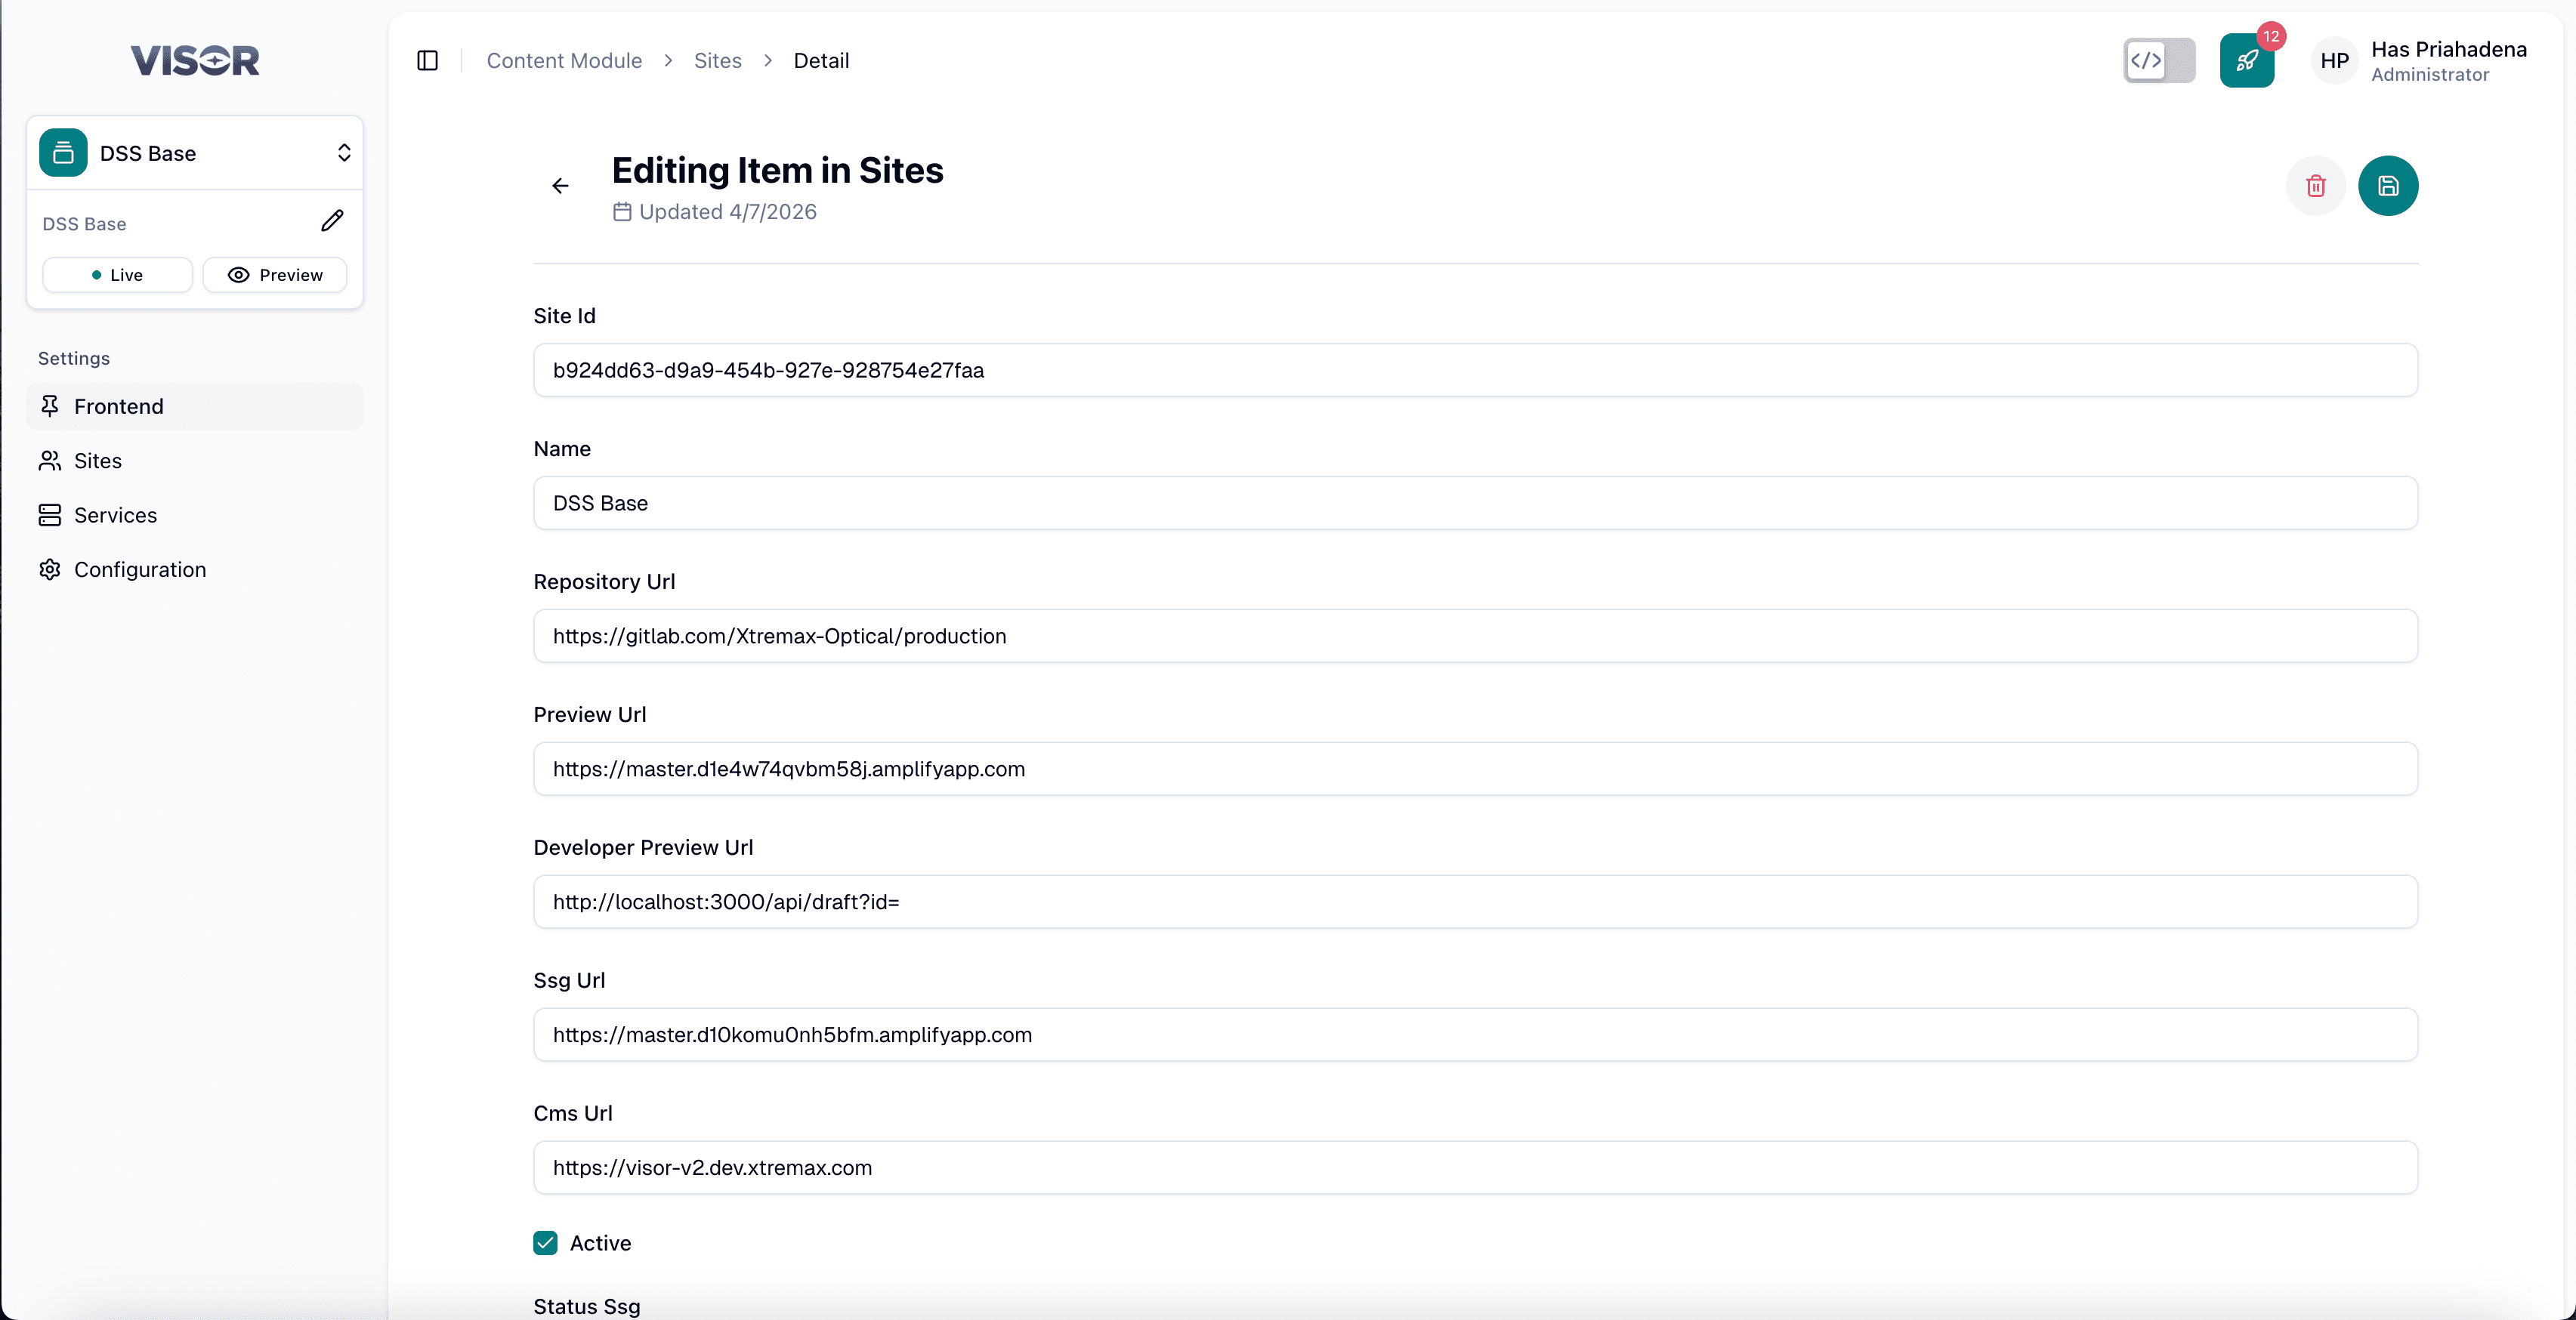
Update the fields
Edit the configuration fields as needed.
Save the changes
Click the ✓ (check) button in the top-right corner to save.
Delete a Frontend
There are two ways to delete a frontend entry.
Deleting a frontend entry will disconnect Visor Studio from that frontend head. Any sites linked to this frontend may be affected.
Method 1: Delete from the listing page
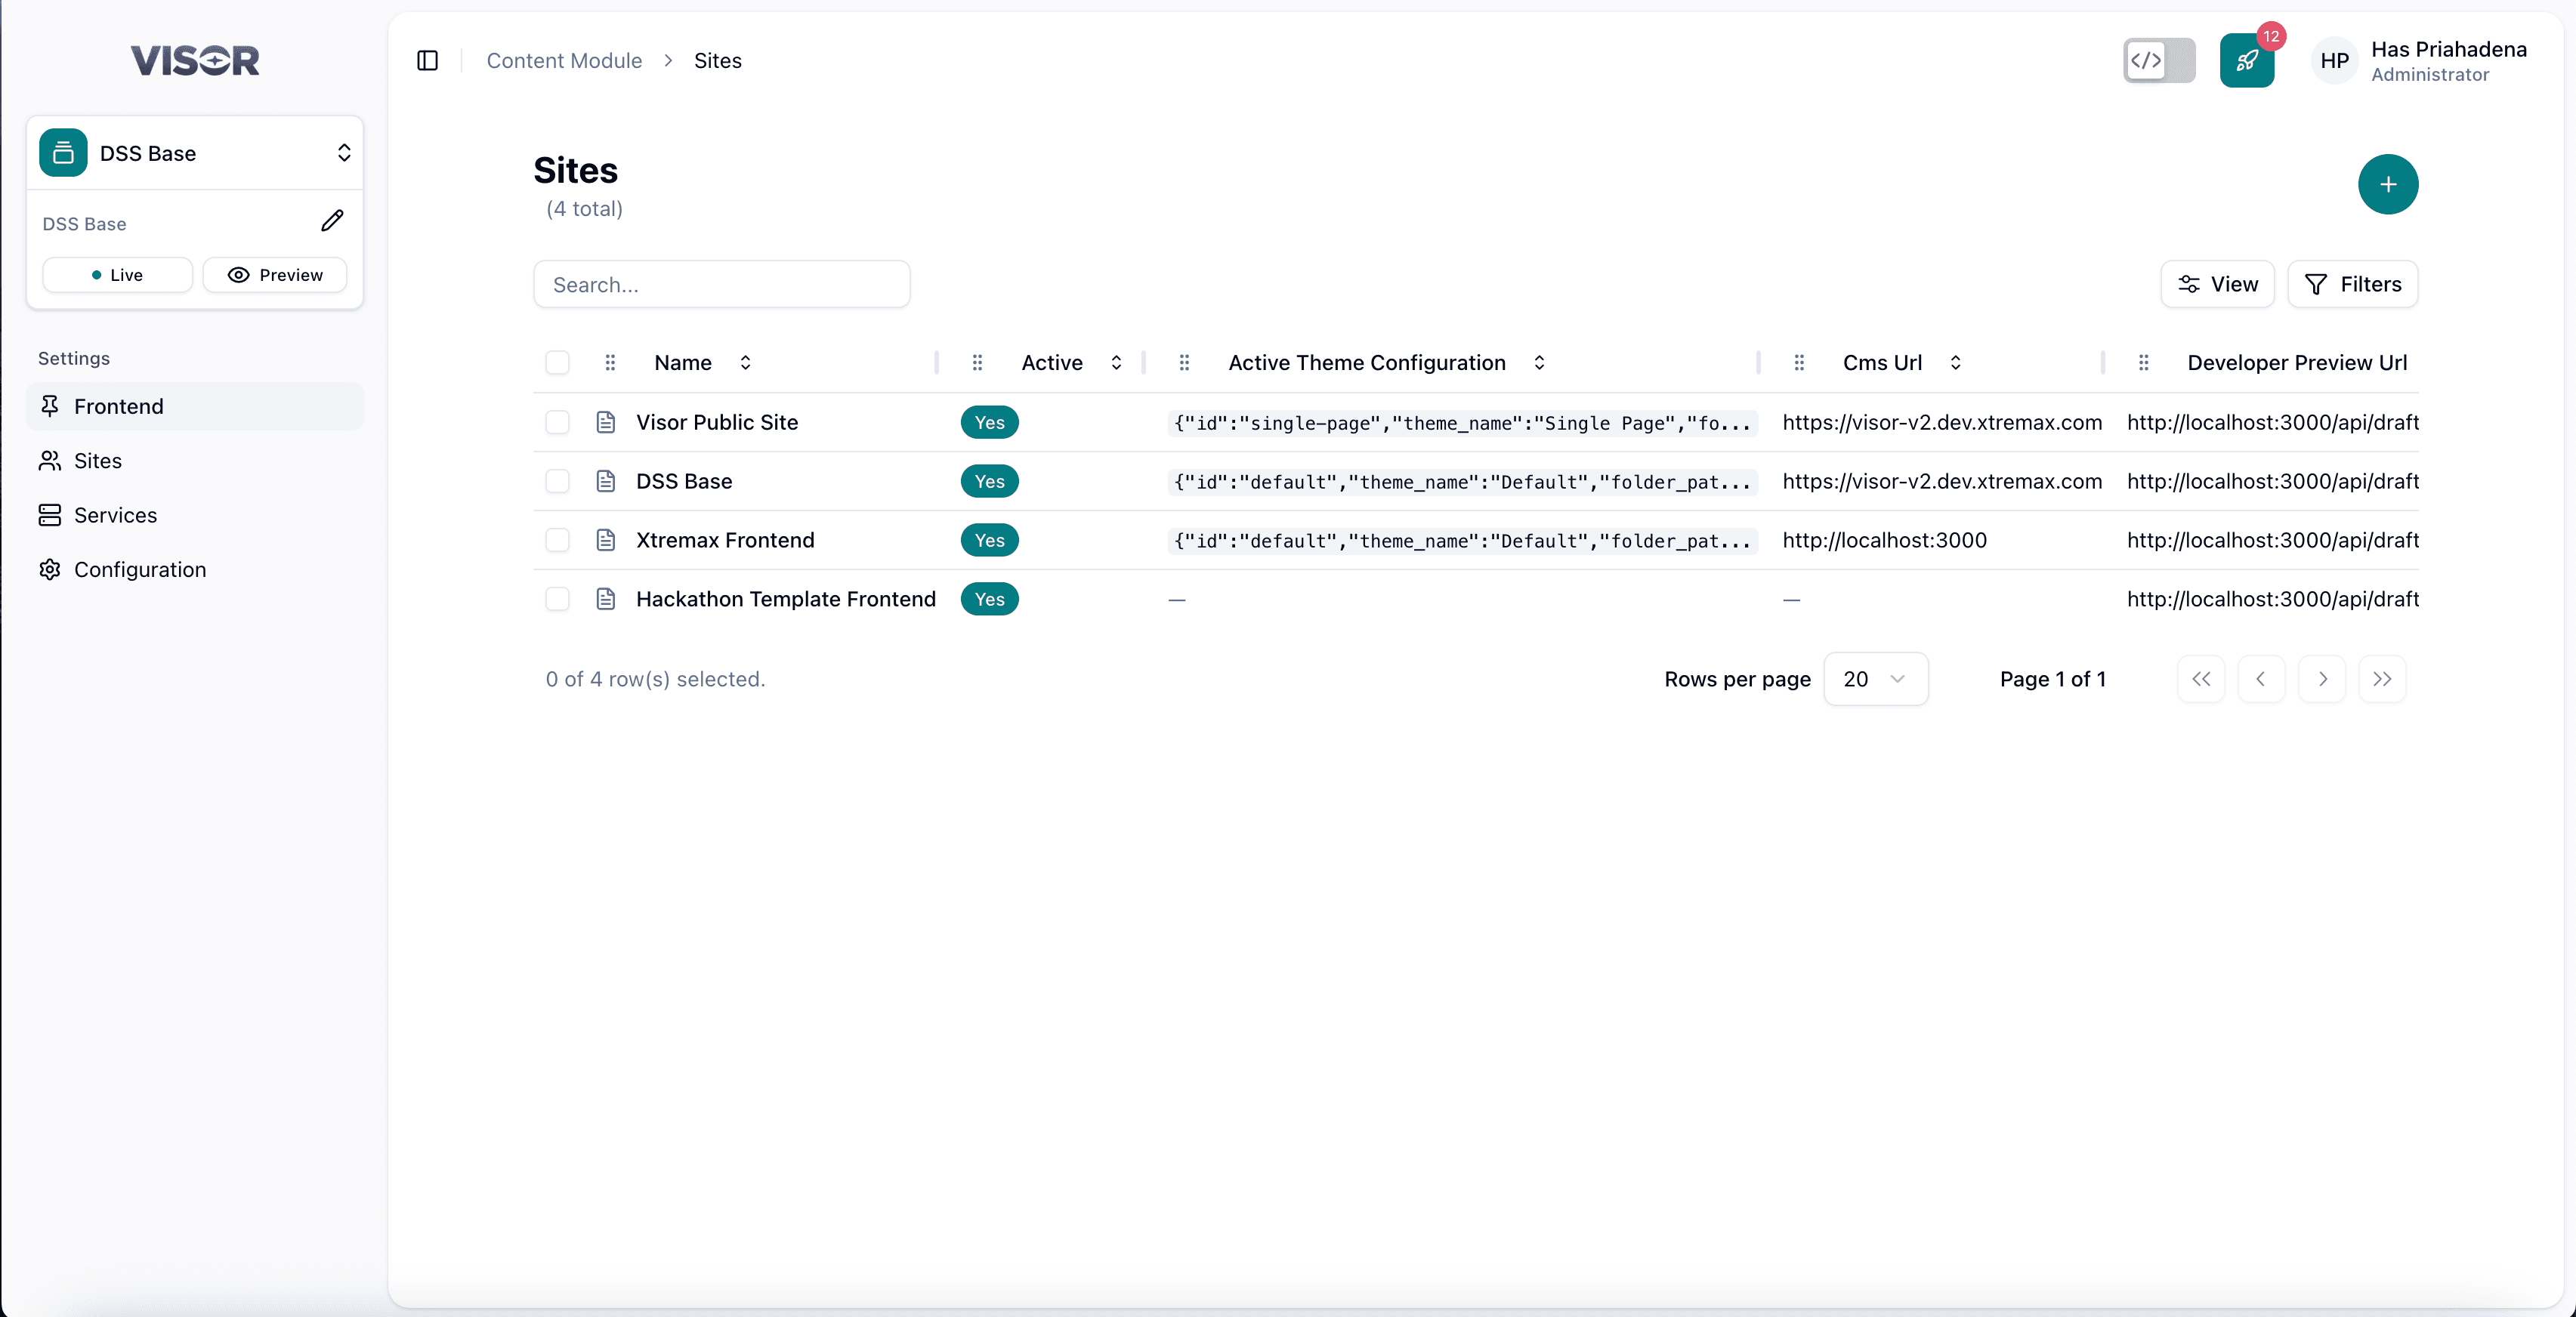
From the Frontend listing, tick the checkbox next to the entry you want to delete.
Click the trash icon in the top-right toolbar (Delete selected), then confirm the delete action.
Method 2: Delete from the detail page
Open the frontend entry from the listing. In the top-right action bar, click the trash icon (Delete item), then confirm the delete action.