Set Up Locally
The starter kit sets up one Visor site’s code on your machine, with its settings, skills and MCP connection ready. Everyone who works at a site can download it.
What you need
- A role at the site.
- Node.js 22 and git.
- An AI coding tool with an active subscription: Claude Code, VS Code, Kiro or Antigravity.
Set up
Download the starter kit
In your site, go to Settings → AI tools → Developer setup, and click Download for your tool.

To get a specific frontend’s kit, use Settings → Frontend → Manage → Settings instead. The cards there download that frontend’s code.
An AI tool already connected to the site can also fetch the kit, using a one-use link valid for 10 minutes.
Open the folder
Unzip it and open the folder in your AI tool. The site’s code isn’t there yet. The next step fetches it.
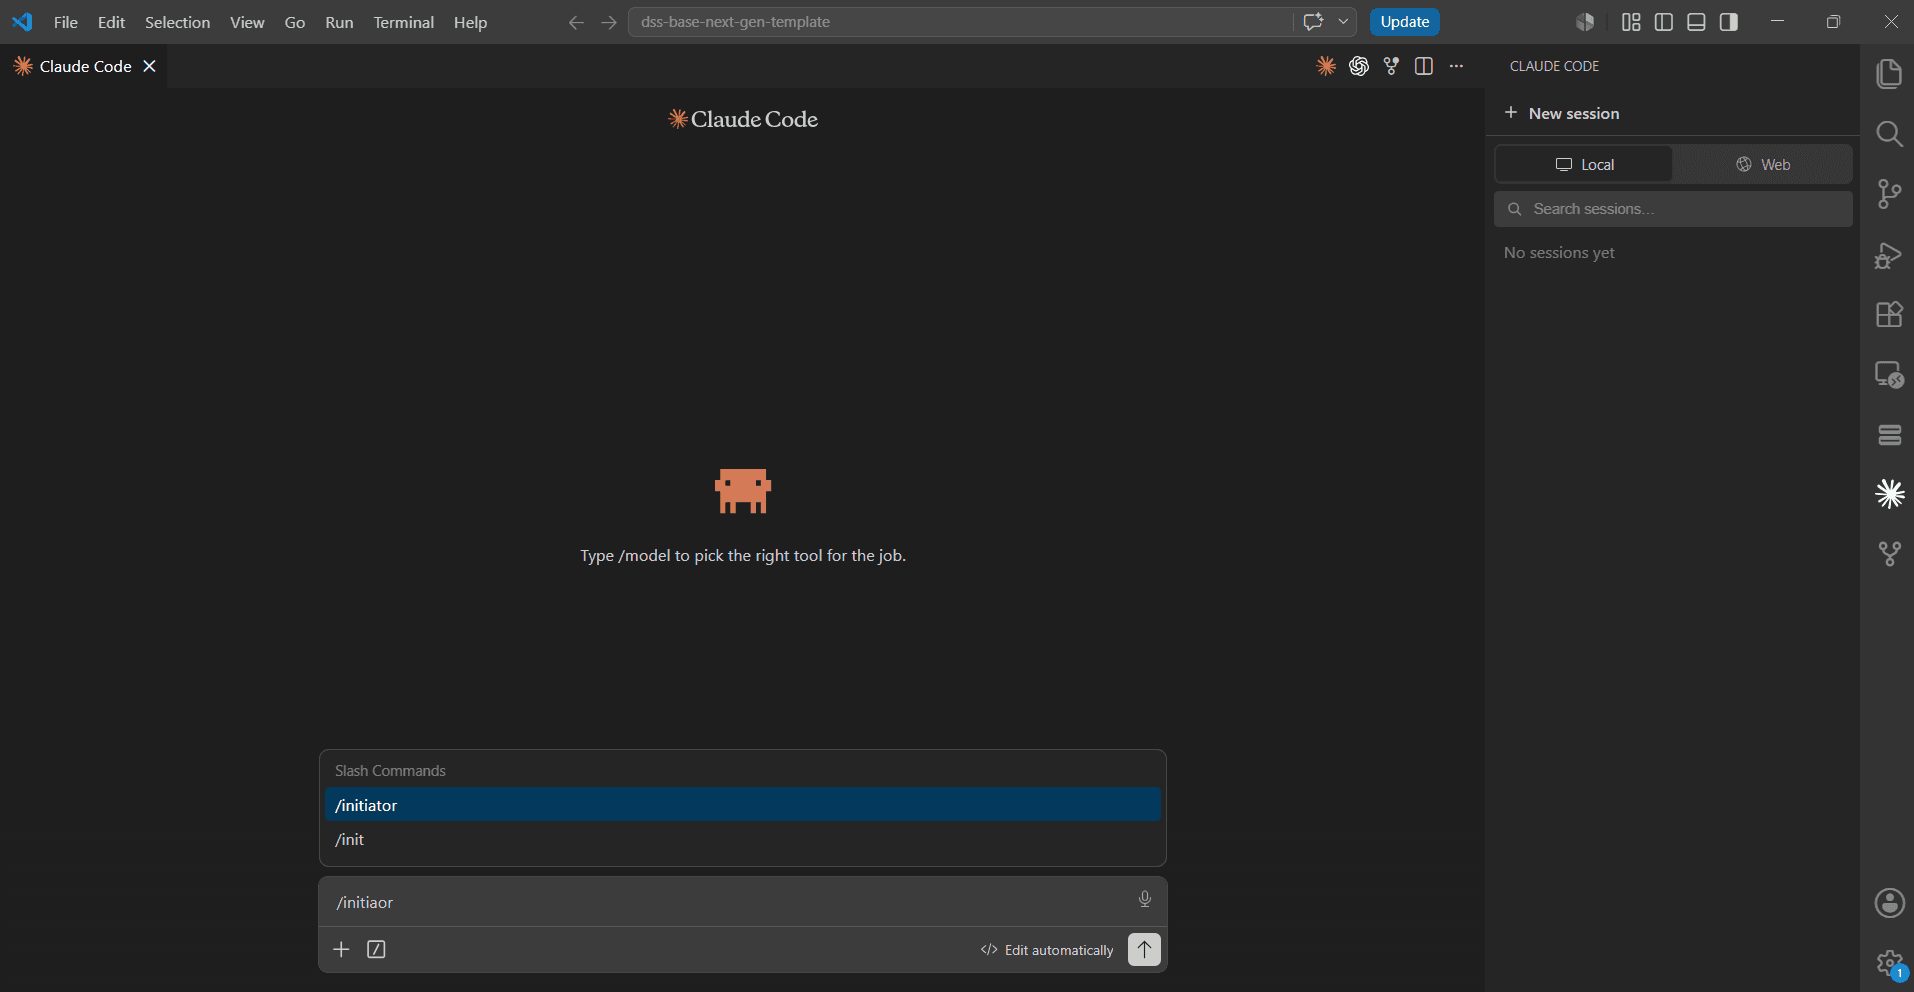
Run the initiator skill
| Tool | How |
|---|---|
| Claude Code | /initiator |
| VS Code | /initiator, or say “run the initiator skill” |
| Kiro | #initiator |
| Antigravity | Say “run the initiator skill” |
It fetches the site’s repository, creates an onboarding/<date> branch, keeps the prepared .env, runs npm install and starts npm run dev.
Connect to Visor
Claude Code and VS Code sign in through Visor the first time. Kiro and Antigravity need a personal token pasted into their settings file. See your tool’s page.
Start building
Say “help me build my site”. Visor leads from there, whether you have a design or not.
Check it worked
| Check | Expected |
|---|---|
git status | You are on onboarding/<date>. |
git log | The site’s history is there. |
http://localhost:3000 | The site’s Home page, with its content. |
curl -sf http://localhost:3000/api/widgets | A list of widgets. |

See your code in Visor
Developer mode shows a site in Visor through your machine’s code, so you can try widgets, layouts and themes in the real editor before merging.
Keep the dev server running
It needs to be at http://localhost:3000.
Turn on Developer mode
Open the site in Visor and turn on the Developer mode switch (</>) in the header. It applies to this browser tab only. A connected AI tool can also give you a link with it switched on.
Open a page
Open a page, a layout or Theme Configuration. They now use your code, and your own new widgets appear in the Widgets panel.
Only you see your local code. Everyone else sees it once it’s merged and the preview rebuilds.
What is in the kit
| Item | Purpose |
|---|---|
.git | Pointed at the site’s repository. |
.env | Ready to use: the data service’s address, the site’s read-only login, and the site’s and organization’s IDs. |
| Your tool’s folder | The kit’s guide and the initiator skill. The code brings the rest. |
| Your tool’s MCP settings | The site’s MCP connection. See the table below. |
.visor/ | A small git helper, and this kit’s own token. |
MCP settings by tool
| Tool | File | Signs in with |
|---|---|---|
| Claude Code | .mcp.json | Your Visor account (/mcp) |
| VS Code | .vscode/mcp.json | Your Visor account |
| Kiro | .kiro/settings/mcp.json | A personal token you paste in |
| Antigravity | .agents/mcp_config.json | A personal token you paste in |
The kit never puts a token in these files, and its git settings exclude them.
How git signs in
Git asks Visor for the repository login at each fetch or push, so no login is stored in the folder. The helper uses the kit’s token, listed as Git (starter kit) in the site’s AI tools. It lasts 90 days and can be disconnected there.
| You are | Git lets you |
|---|---|
| A Site Admin or Organization Admin | Push to master and branches. |
| Anyone else at the site | Push branches, which Visor merges. See Code Changes. |
| Someone who has left the site | Nothing. It stops working straight away. |
If git reports a 401, the token has ended. Create a new personal token and put it in .visor/token.
Never print, paste or commit .env or .visor/token. .env holds the site’s build login.
Without a kit
Clone the site’s repository, copy env.sample to .env, and fill it in with the environment variables. Then connect the MCP by hand. The kit is easier, and it’s the supported path.