Content Type → Layout
What is Content Type → Layout?
Content Type → Layout defines which layout a dynamic data collection should use when rendered on the frontend. By mapping a content type (collection) to a layout, you ensure that all pages driven by that collection are rendered using the correct layout structure.
This mapping applies to Dynamic Data collections. Make sure the layout you want to assign has already been set up in the Layouts module.
Navigating to Content Type → Layout
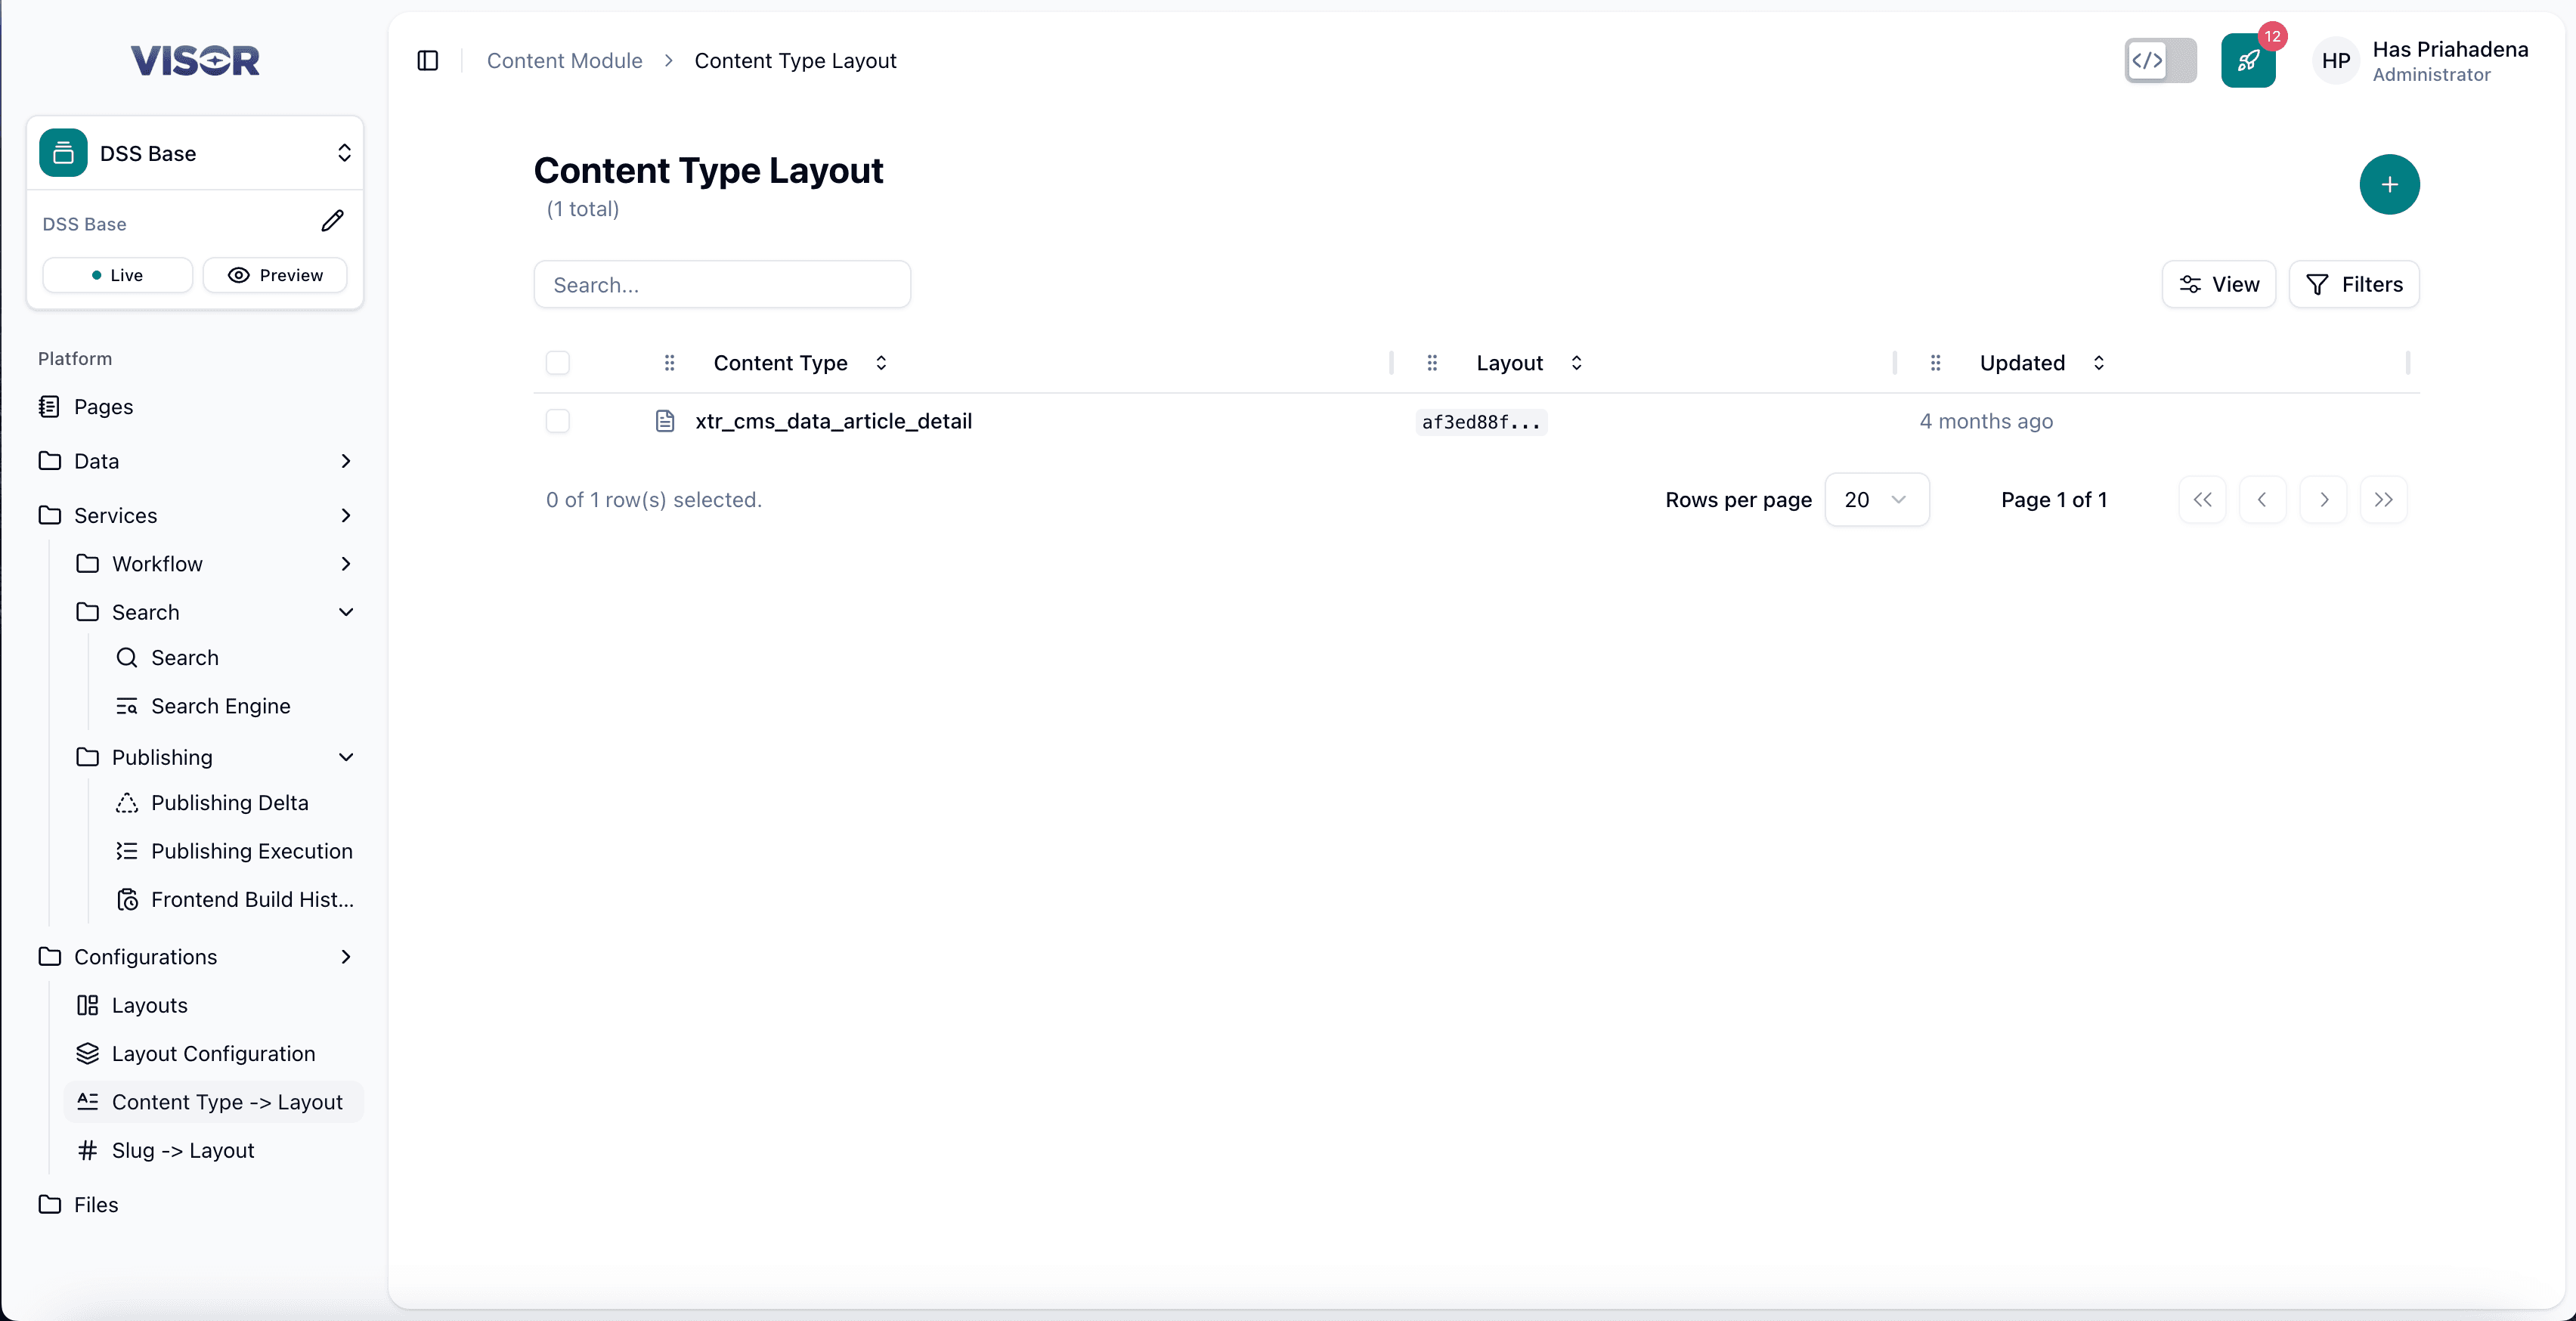
In the left sidebar, go to Configurations → Content Type → Layout. This opens the listing page showing all existing content type to layout mappings.
Create a Content Type → Layout Mapping
Navigate to Content Type → Layout
In the left sidebar, go to Configurations → Content Type → Layout. You will be taken to the listing page.
Click the + button
In the top-right corner of the listing, click the + button. You will be redirected to the creation form.
Fill in the form
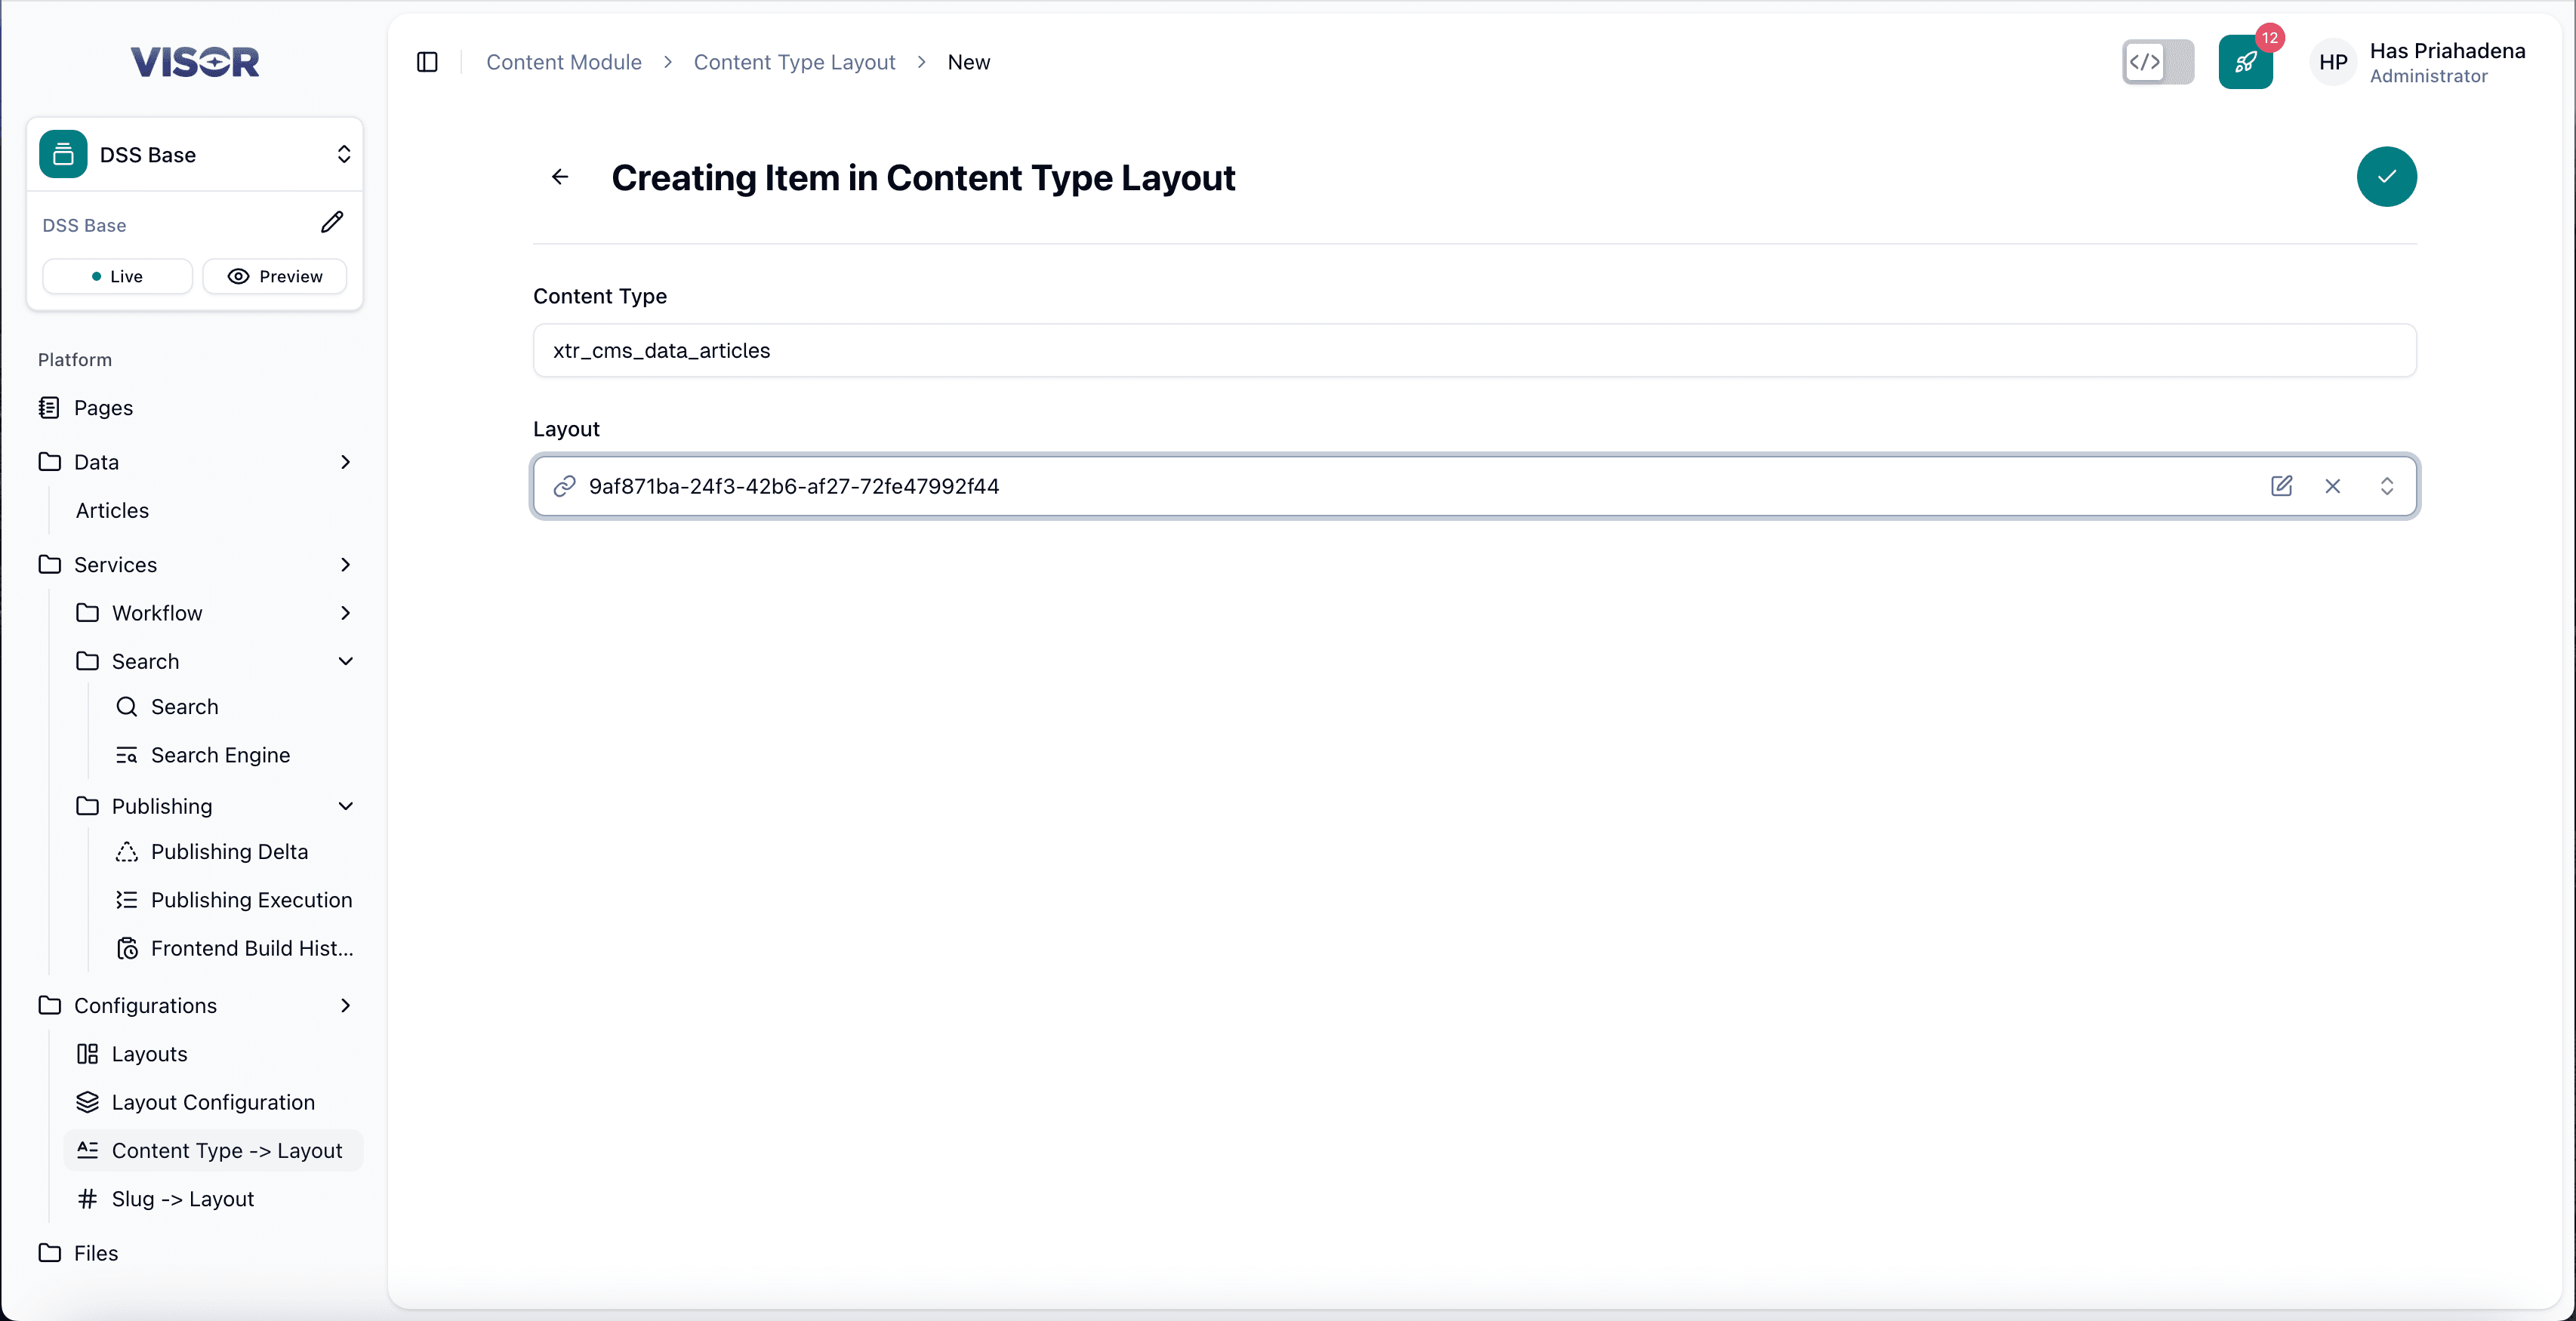
| Field | Required | Description |
|---|---|---|
| Content Type | Yes | The name of the dynamic data collection to map (e.g., xtr_cms_data_articles). |
| Layout | Yes | The layout to assign to this collection. |
Save the mapping
Click the ✓ (check) button in the top-right corner to save. The collection will now use the selected layout when rendered on the frontend.
Edit a Content Type → Layout Mapping
Open the mapping from the listing
From the Content Type → Layout listing, click the entry you want to edit. This opens the form.
Update the fields
Change the Content Type or Layout as needed.
Save the changes
Click the ✓ (check) button in the top-right corner to save.
Delete a Content Type → Layout Mapping
There are two ways to delete a mapping.
Deleting a mapping means the associated collection will no longer have a layout assigned. This may affect how content is rendered on the frontend.
Method 1: Delete from the listing page
From the Content Type → Layout listing, tick the checkbox next to the entry you want to delete.
Click the trash icon in the top-right toolbar (Delete selected), then confirm the delete action.
Method 2: Delete from the form
Open the entry from the listing. In the top-right action bar, click the trash icon (Delete item), then confirm the delete action.